
Part of our job here at RocketNews24 is to demystify Japan. It’s not that we are trying to make it seem less special, but we would like to turn it from a land of social and cultural barriers into the participatory place our team loves and calls home.
Today we’ll be covering how to tie the sash (or obi) on a man’s yukata summer kimono. Yukata is a look you can rock at festivals, fireworks shows, or just about any entertainment venue during the warmest months of the year. Despite the tradition involved, putting on a yukata isn’t really any harder than tying a necktie (and if you haven’t mastered that yet, you really should have your dad teach you before you go off to college).
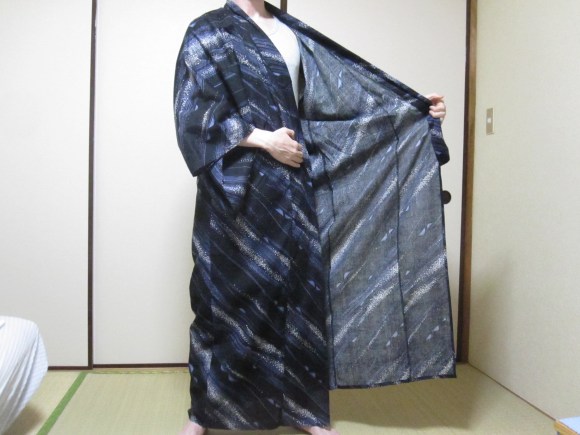
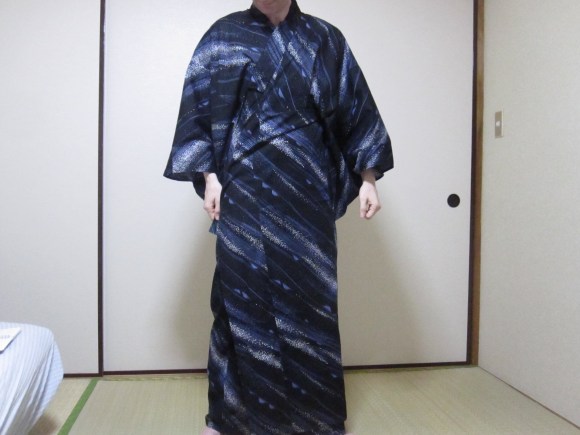
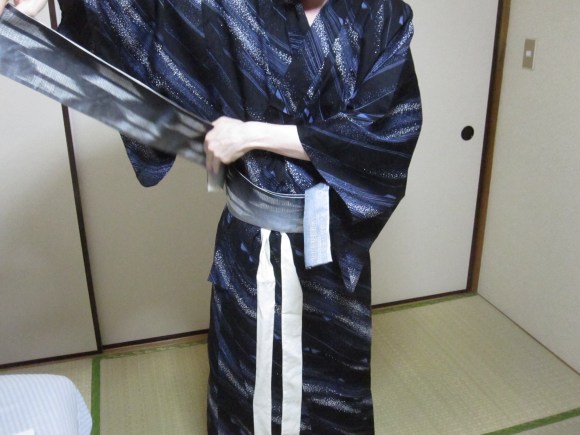
First, fold the robe around yourself. You want a large overlap, with the front right edge stretching to your left hip, and vice-versa. Make sure the left flap is in front of the right (just like a man’s button-up shirt), since putting the right over the left is how corpses are wrapped before cremation.
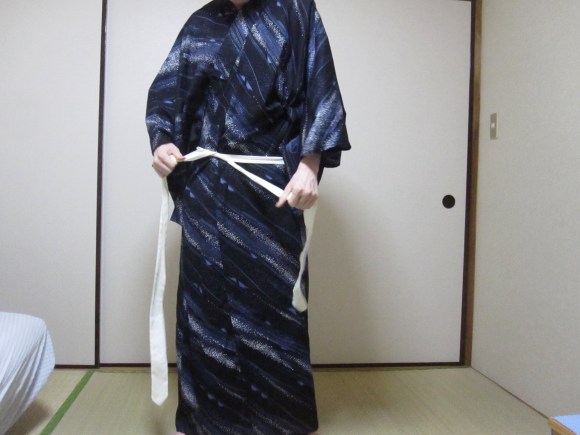
To keep everything in place, take any thin strip of cloth (yukata sold in more upscale department stores usually come bundled with them) and tie it around your waist. A slipknot is fine since we’re going to be removing this later. You can even use a regular belt in a pinch, or skip this step entirely once you get used to tying the obi.
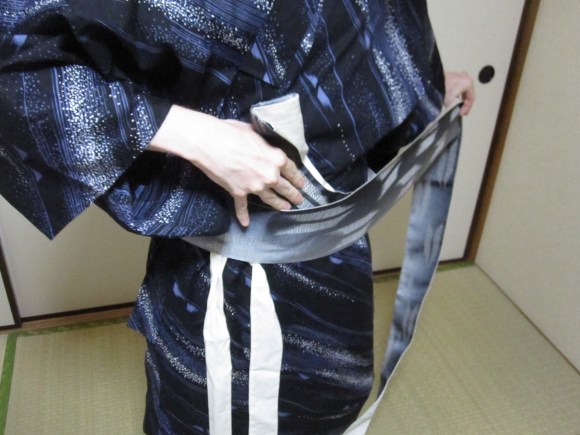
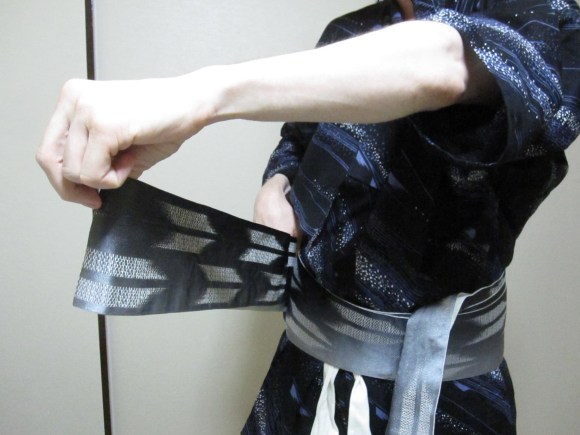
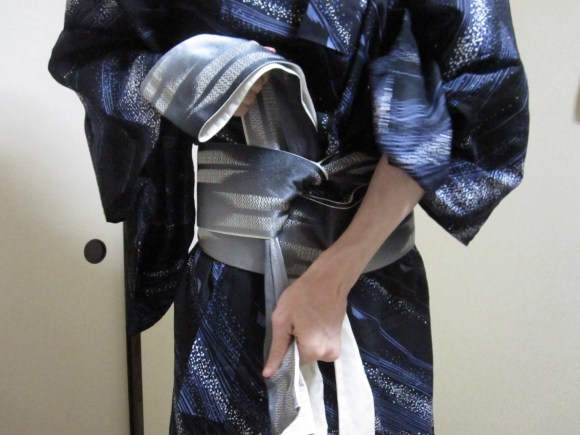
Now we’re ready to get down to business. Take the end of the obi and crease a section of it a little longer than the length of your hand.
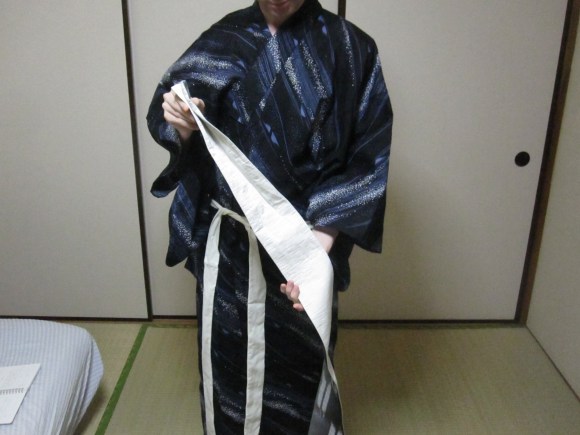
Place this creased section in front of you, with the open edge facing left.

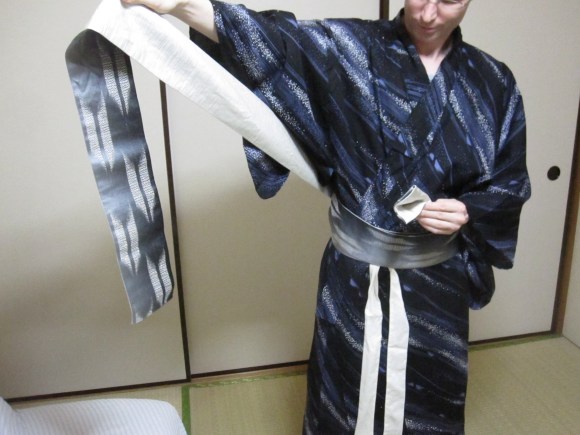
Now, wrap the rest of the obi snugly around yourself, going past your left hip and behind your back. The ideal height is with the upper edge hitting near the bottom of your navel, not high on the hips.
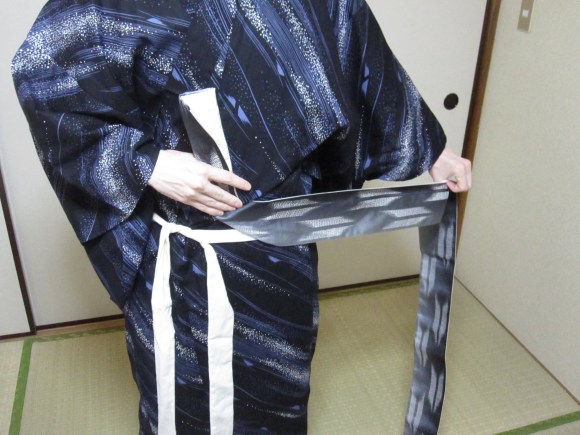
You should have enough material to make two trips around. Once you get to your right hip for the second time, stop.
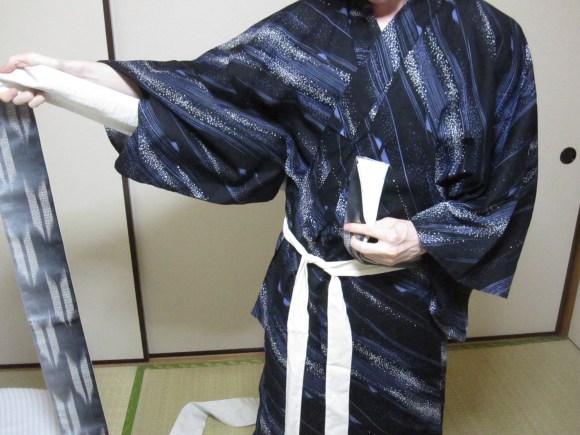
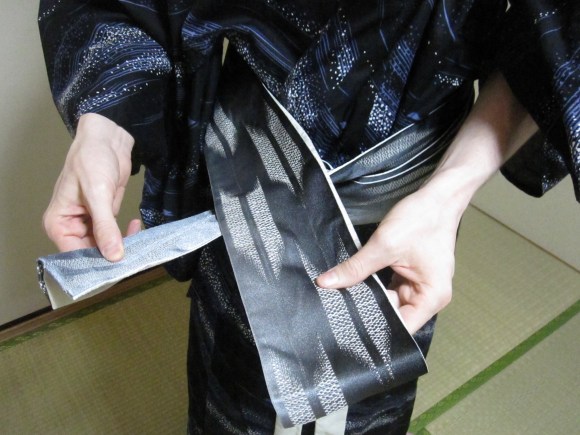
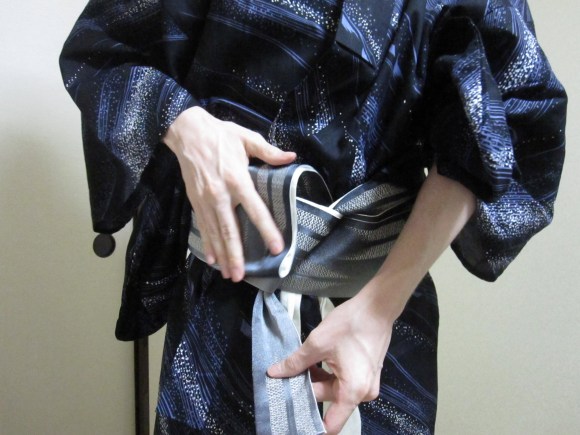
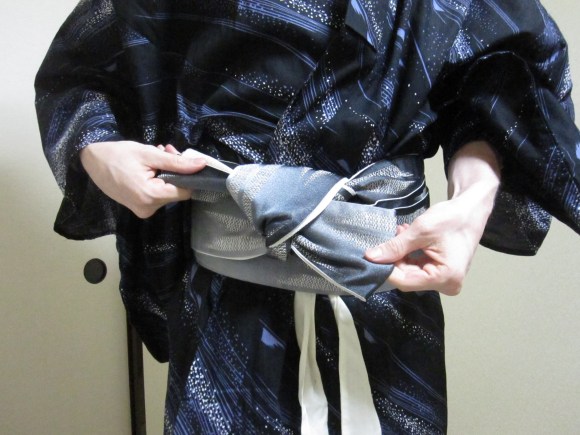
Now, take the remaining length of the obi and fold it back along itself.
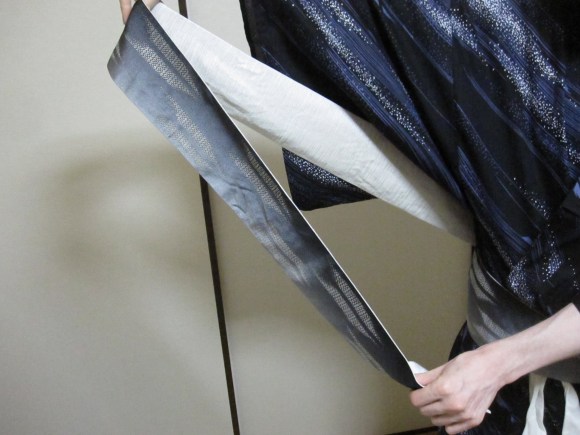
At this point, you should have two flaps sticking out from the obi, the creased, half-width one from when you started wrapping it around yourself, and the full-width one you just formed.
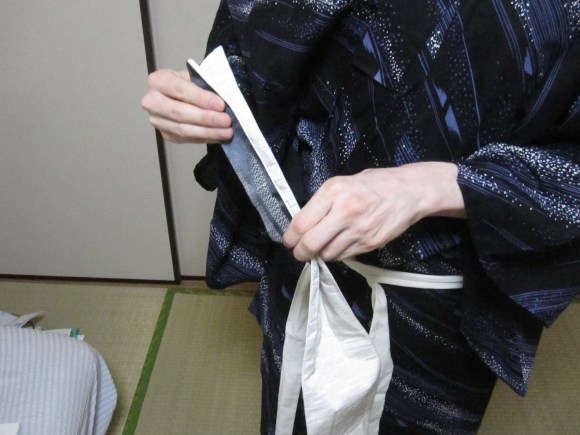
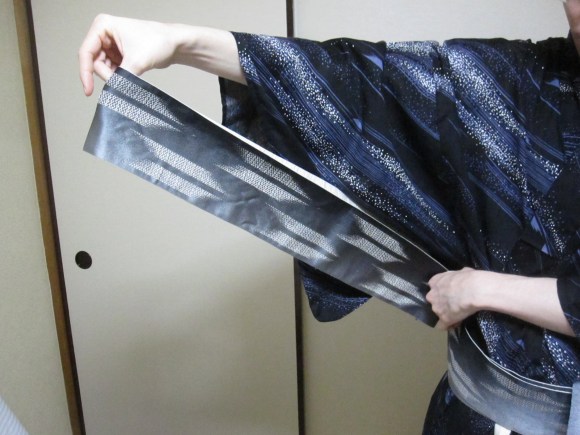
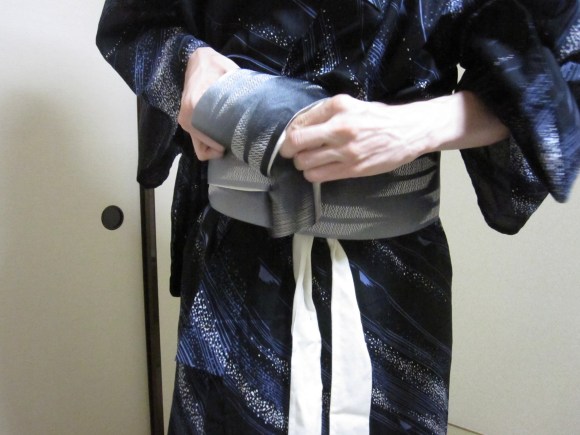
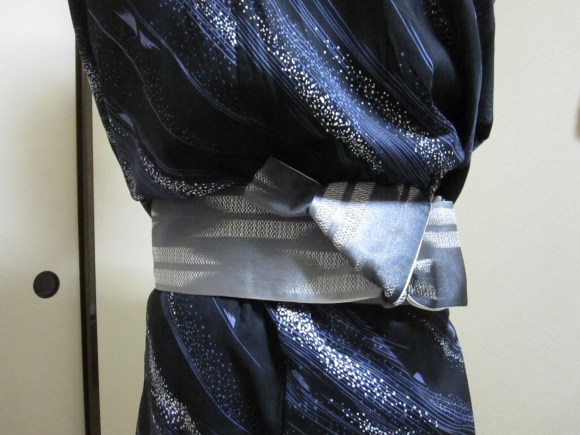
Now we’re ready to tie the knot. Place the wide flap over the narrow one, and tie a slipknot. You should end up with the wide flap pointing up, and the narrow flap pointing down.
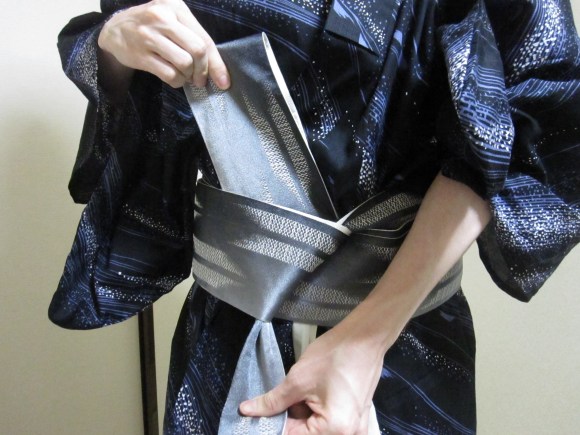
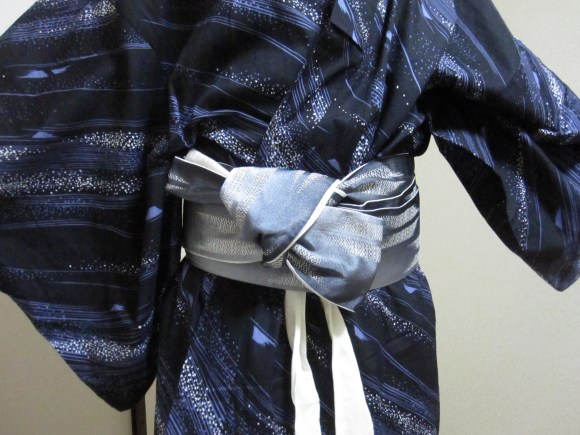
Fold the wide flap forward, back down onto itself.
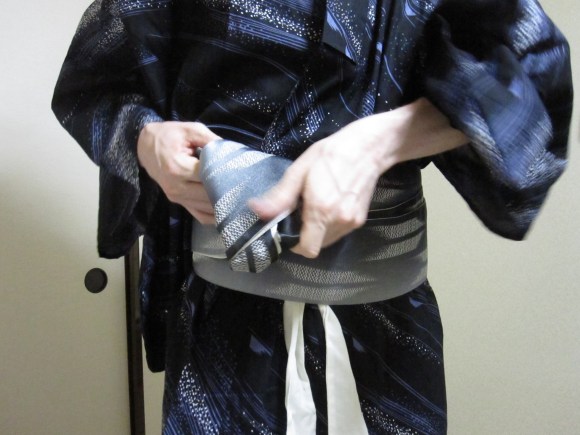
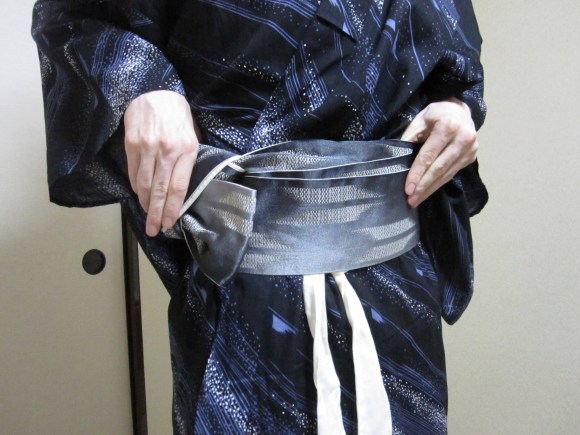
And finally, draw the narrow flap through the center of the fold you just made, pulling each flap firmly to close the knot.
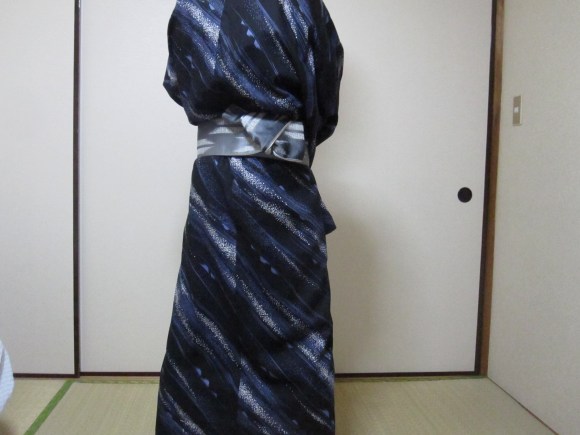
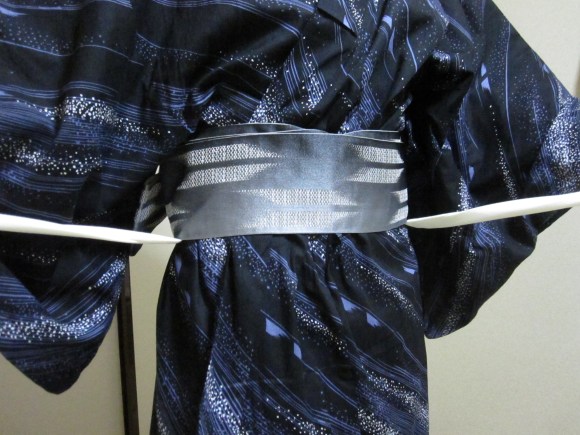
Smooth out any unwanted folds or wrinkles, then rotate the knot to your back, moving from your left to your right to keep from pushing the front flap of the robe open.
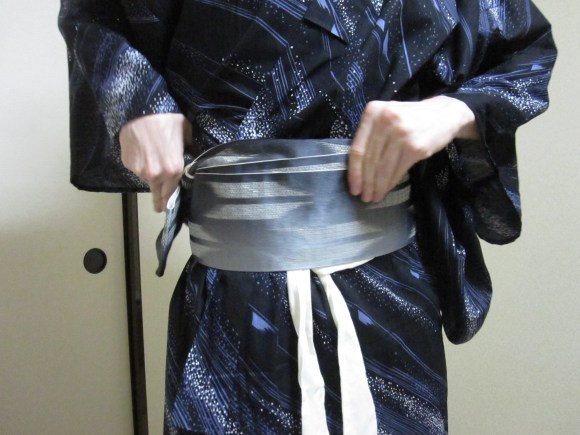
Don’t worry about getting the knot right in the middle of your back, as having it slightly off-center is considered the most fashionable look.
Take one last second to make sure the various layers of the obi all line up nicely, pull out the strip of cloth you initially held the robe in place with, and you’re good to go.
Fully dressed, you will now notice the true phenomena of yukata: it’s almost impossible to walk without strutting while wearing one. Feeling like equal parts samurai and Shaft, you’re now all set to enjoy a Japanese summer to the fullest.
Photos: RocketNews24