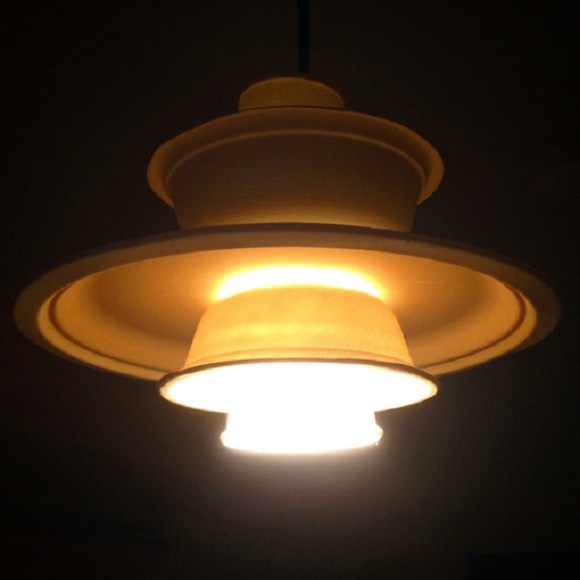
Apartments in Japan are a bit strange. Most don’t come with furnishings, which isn’t all that uncommon, but many also don’t even come with light fixtures. It comes as a bit of a surprise for foreigners in Japan when they walk into their brand new rental and aren’t able to turn on the lights…because there are none.
It’s not so bad when you have been living in Japan your whole life, and thus take the light fixtures with you whenever you move, but often times, it’s an extra cost of moving that you didn’t factor in. Since you own these lights, it seems like a good place to invest in something unique that will stand the test of time and it’s a chance to show some individuality in your own personal space.
For some, that means going the “eco” route and forking out the money for some really expensive, but long-lasting LED lights. For others, it might mean purchasing that stylish but expensive fixture you’ve been seeing in all the home decor magazines. But who says you have to spend a lot to be trendy? Here’s a handy DIY instruction guide for making your own Louis Poulsen PH 5 hanging light!
Louis Poulsen is a world-famous lighting manufacturer originating from Denmark with key sales regions in Europe, Scandenavia, Japan and the US. They’ve been lauded as a creative force in the home decor world, but their wares don’t come cheaply. One of our eagle-eyed writers noticed that one of their most famous light designs, The PH 5, seemed easy to replicate using a bit of electrician know-how and paper plates.
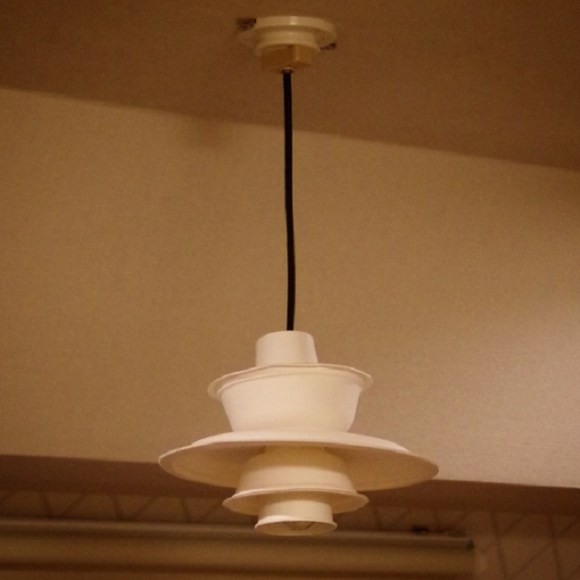
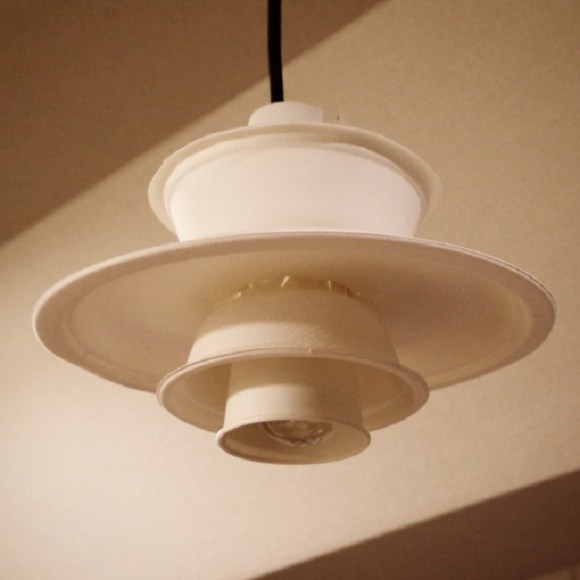
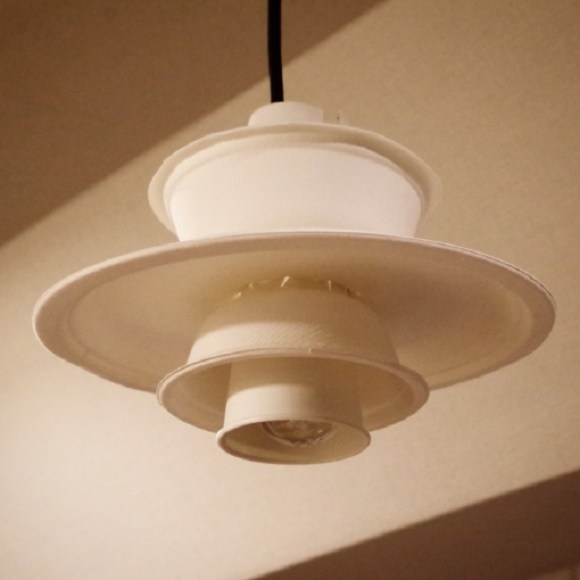
Take a look for yourself! Don’t those shapes look eerily familiar to the paper cups and plates you’ll surely be seeing at your next holiday party? While the real deal costs between 80,000 and 90,000 yen (about US $684-$769), our ingenious writer decided to fashion his own version of the “dollar store chandelier” and posted his how-to video on YouTube.
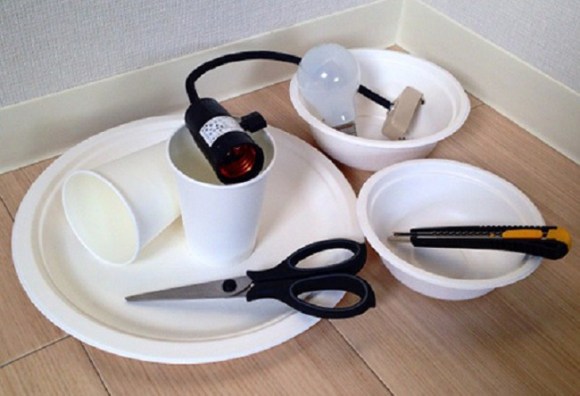
Better yet, you don’t need a lot of special materials to make this light. All you need is the following:
– Incandescent bulb (700 yen, $5.99)
– Paper cups (2)
– Big paper plate (1)
– Big and small paper bowls (2 total)
Assembly doesn’t require tape or glue, and you can make it in about five minutes. You just have to follow these simple steps.
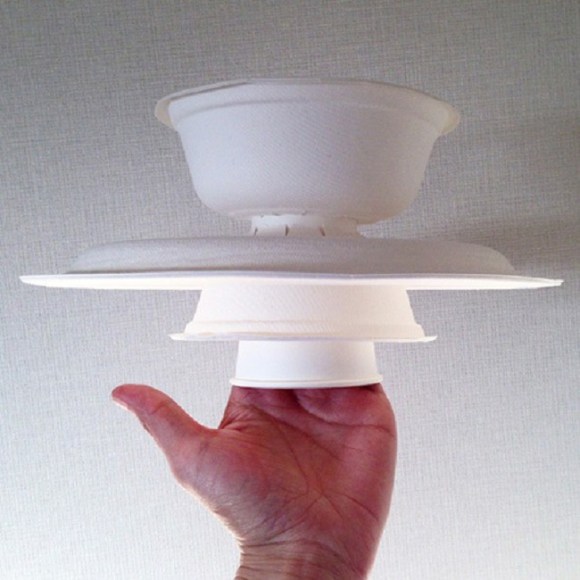
Step 1: Trace the bottom of the paper cup onto the bottom of the smaller paper bowl. It doesn’t have to be perfect. Cut the hole out of the bowl and fit the cup into it. You may need to cut slits into the edge of the hole to make it snug with the cup.
Step 2: Put the paper cup in the bowl. Bottom with bottom, lip with lip.
Step 3: Take the paper plate and trace the bottom of the other cup in the center of the plate. Cut out the hole and once again cut slits to fit. Stick the first cup and bowl (from step 2) into the paper plate, again bottom with bottom, lip with lip.
Step 4: Trace the bottom of the paper cup onto the bottom of the bigger bowl. Cut it out and cut slits. This time stick the bottom of the medium bowl and have it touch the bottom of the plate, with the lips of the plate and bowl away from each other.
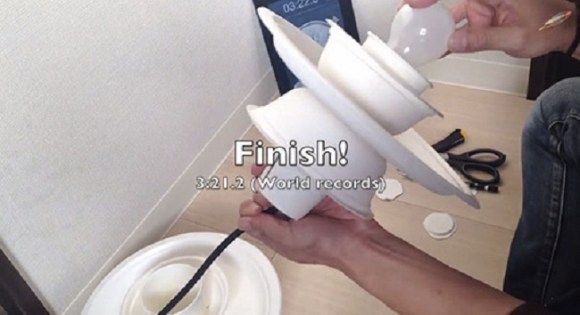
Step 5: In the main paper cup (that is holding everything together) trace and cut a hole out of the bottom. You may have to cut slits so the bulb fixture can fit through and fit snugly.
Step 6: Lastly, take the paper cup that hasn’t been used and cut a hole in the bottom. Then cut the cup length-wise to make a nice cover for the bulb fixture.
Final cost – about 1,000 yen ($8.55)!
Tada! You’ve got a pretty cool light that you can definitely call your very own! One thing you may want to watch out for is the amount of heat the light bulb you use produces. You don’t want your cheap DIY alternative to end up causing a very expensive fire. Probably a compact halogen or LED bulb should do the trick.
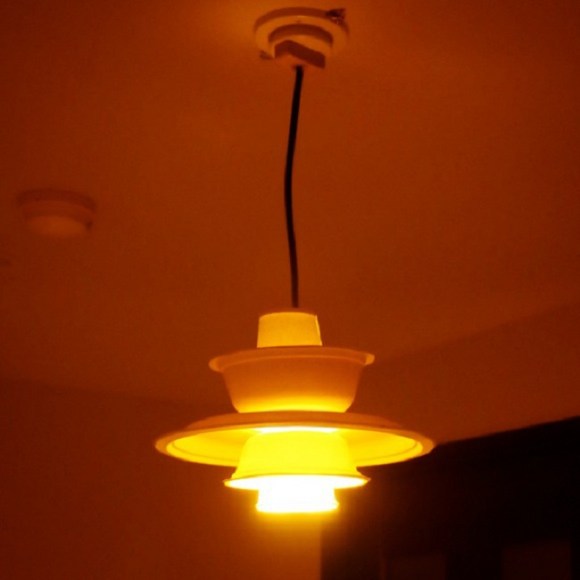
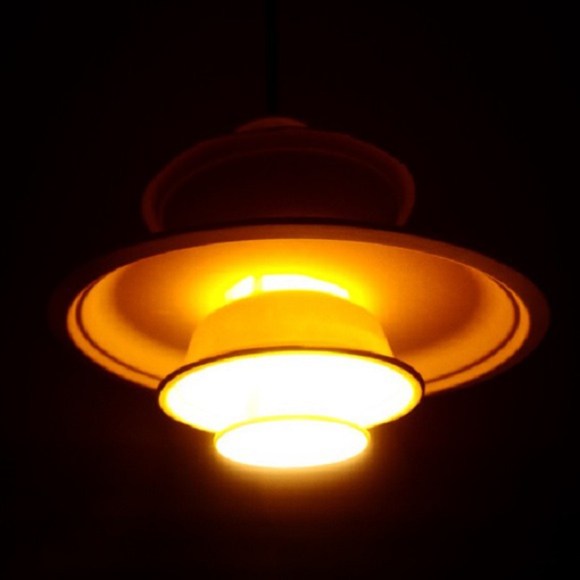
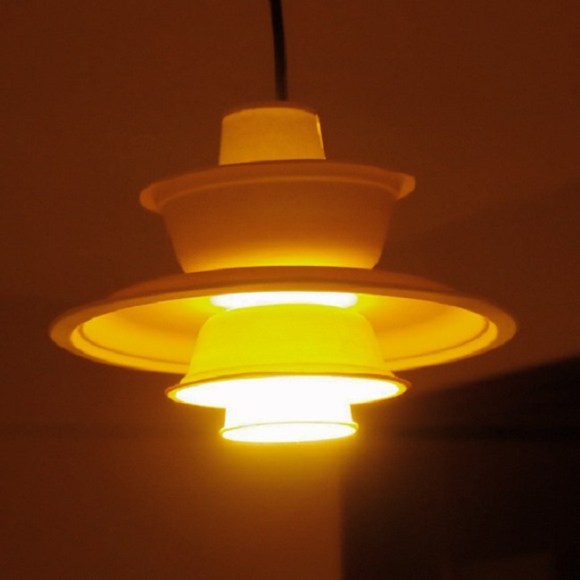
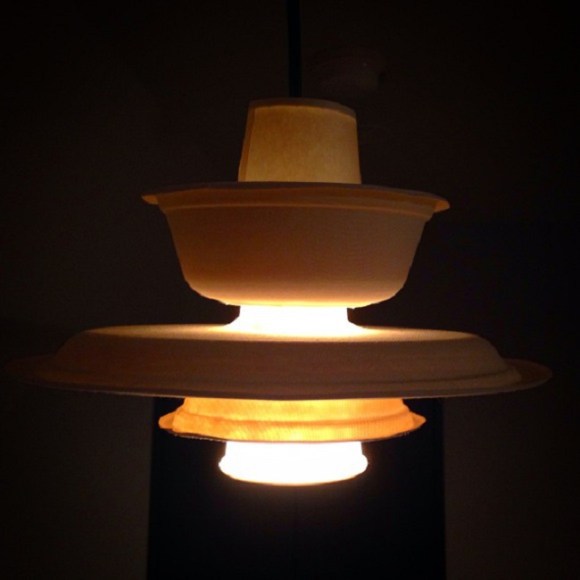
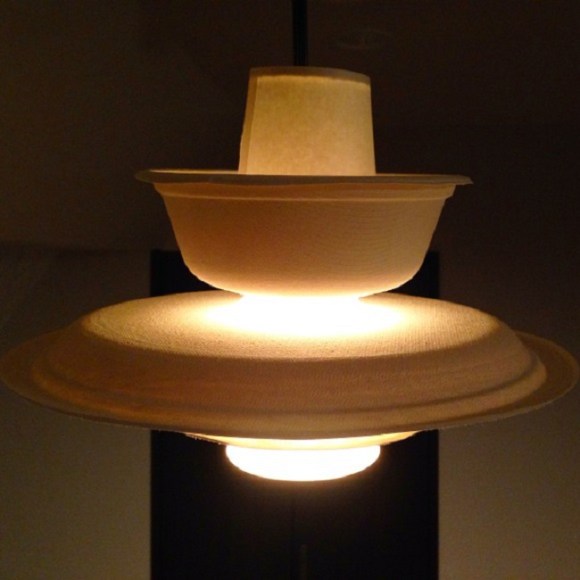
While no one is going to mistake it for a real PH5 hanging light, when you turn it on, it looks pretty neat!
Everyone loves saving money and a simple DIY project like this can produce something you’d be proud of! If you’ve got some more life hacks like these, share them with everyone else in the comments!
Images: RocketNews24
[ Read in Japanese ]

 Hack your life with these 10 brilliant ideas that will cost you next to nothing
 Is China’s don’t-go-to-Japan warning affecting the lines at a popular Tokyo gyukatsu restaurant?
 Japan’s most famous Mt. Fuji view park cancels cherry blossom festival because of overtourism
 Act of Japanese kindness touches one man’s heart, provides hope for elevator etiquette
 Three beautiful places to see Japan’s plum blossoms after starting your day in downtown Tokyo
 ‘Josou’ specialist Naoko Tachibana opens crossdressing photography retrospective in Tokyo【Photos】
 Why doesn’t Japan hate America for dropping the A-bombs?
 Cat cosplay collars form Japan turn your kitty into Sailor Moon in everything but name【Photos】
 Demon Slayer anime studio creates crossover video with Major League Baseball【Video】
 How to make a lucky sushi roll with KFC fried chicken skin【SoraKitchen】
 Domino’s Pizza is offering a Sakura Pizza for cherry blossom season
 Yokai are descending upon Tokyo this spring in the latest immersive art experience
 New Studio Ghibli stamps leave an impression on your stationery…and your heart
 Japan cherry blossom forecast update moves up sakura dates for many parts of the country
 Cherry blossom forecasts map shows Japan’s OTHER sakura season is starting right now
 Japan’s Naruto theme park now offering real-world version of Minato’s kunai ninja weapon
 Japan has a new bar just for people thinking about quitting their jobs, and the drinks are free
 Morning-after pill finally available in Japan without a prescription, must be taken at pharmacy
 And now, we eat a bear paw we bought in Japan’s Chiba Prefecture【Taste test】
 Studio Ghibli turns My Neighbour Totoro characters into bag charms for everyday adventures
 Japanese women sound off on their minimum height requirements for a husband【Survey】
 Starbucks Japan releases new drinkware and goods for Valentine’s Day
 Japan releases first official sakura cherry blossom forecast for 2026
 10 times to avoid traveling in Japan in 2026
 Archfiend Hello Kitty appears as Sanrio launches new team-up with Yu-Gi-Oh【Pics】
 Starbucks Japan releases new Frappuccino and latte for Valentine’s Day
 China’s don’t-go-to-Japan warning looks to be affecting tourist crowds on Miyajima
 Our 52-year-old pole dancing reporter shares his tips for achieving your New Year’s exercise goal
 Studio Ghibli releases new “komorebi” plush toys from Princess Mononoke and Spirited Away
 Ramen restaurant’s English menu prices are nearly double its Japanese ones, denies discriminating
 Survey asks foreign tourists what bothered them in Japan, more than half gave same answer
 Japan’s human washing machines will go on sale to general public, demos to be held in Tokyo
 We deeply regret going into this tunnel on our walk in the mountains of Japan
 Studio Ghibli releases Kodama forest spirits from Princess Mononoke to light up your home
 Major Japanese hotel chain says reservations via overseas booking sites may not be valid
 Put sesame oil in your coffee? Japanese maker says it’s the best way to start your day【Taste test】
 No more using real katana for tourism activities, Japan’s National Police Agency says
 Starbucks Japan reveals new sakura drinkware collection, inspired by evening cherry blossoms
 Updated cherry blossom forecast shows extra-long sakura season for Japan this year
Leave a Reply