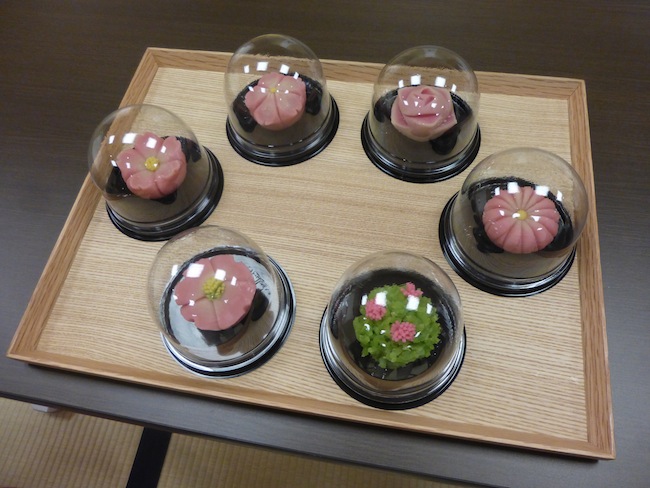
If you’re someone who enjoys making treats like cakes and pastries, then perhaps you have first hand knowledge of how baking can sometimes be a tricky affair. Well, in Japan, we have a whole category of wagashi, or traditional Japanese sweets, that aren’t baked at all, called namagashi (literally, “raw confectionaries”). Namagashi are typically made from various colorful bean pastes and often crafted into delicate seasonal-themed shapes.
Earlier this month, we participated in a seminar to experience what namagashi-making is like. Join us as we see how a master chef creates beautiful flowers from bean paste, and then try our not-so-expert hand at creating our own confections!
The seminar we attended was organized by Shinnichiya, a company based in the Nihonbashi area of downtown Tokyo that specializes in promoting traditional Japanese cultural arts and offering various seminars on activities like tea ceremonies and kimono fittings as well as tickets to kabuki and bunraku (Japanese puppet theater) performances.
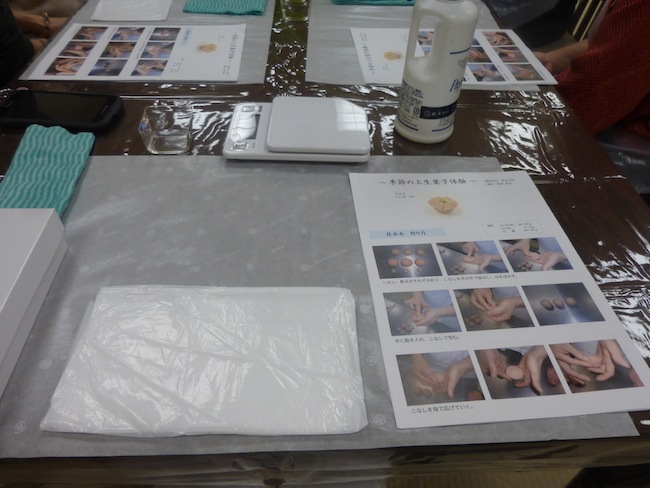
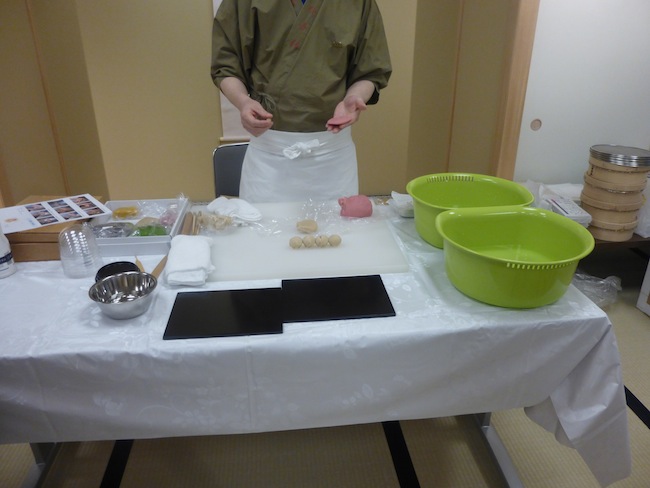
When we arrived at Corredo Muromachi, a shopping, dining and entertainment complex in Nihonbashi, the tables were all set up with a neat working place for each of us participating in the seminar.
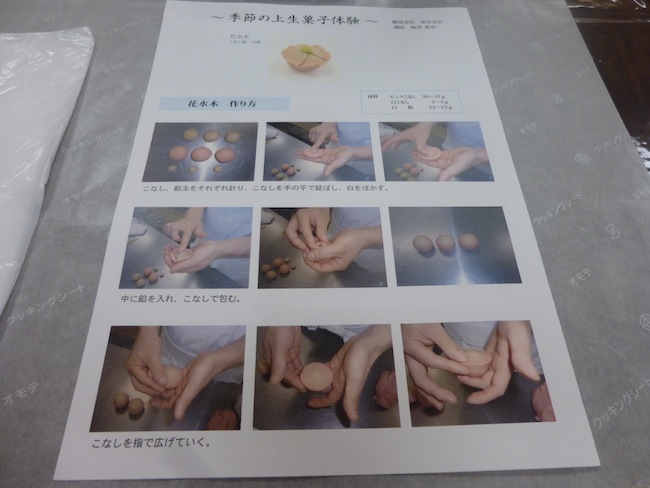
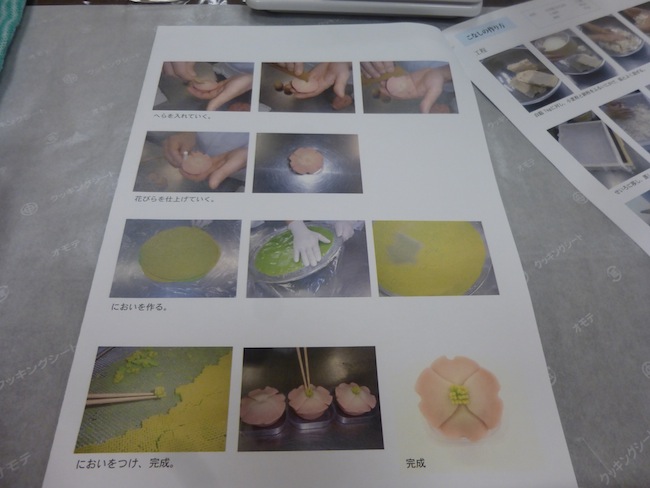
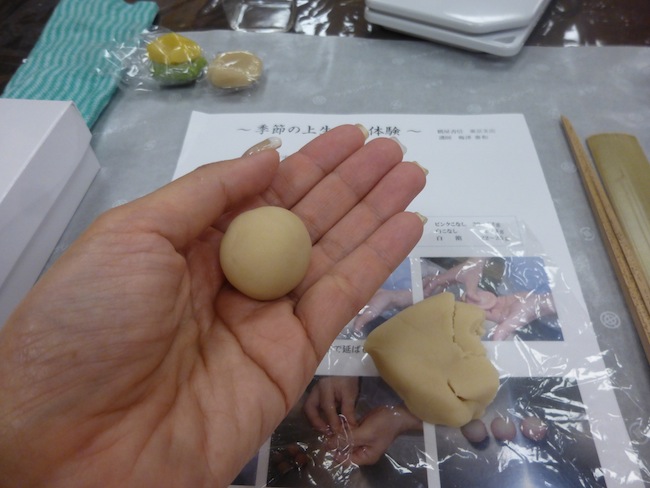
They even had a leaflet with helpful pictures showing how we were going to make the wagashi.
But were we really going to be able to do this like it was shown in the pictures?
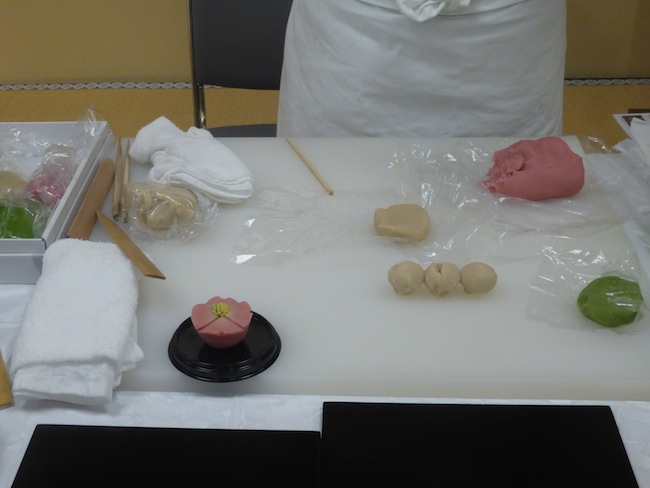
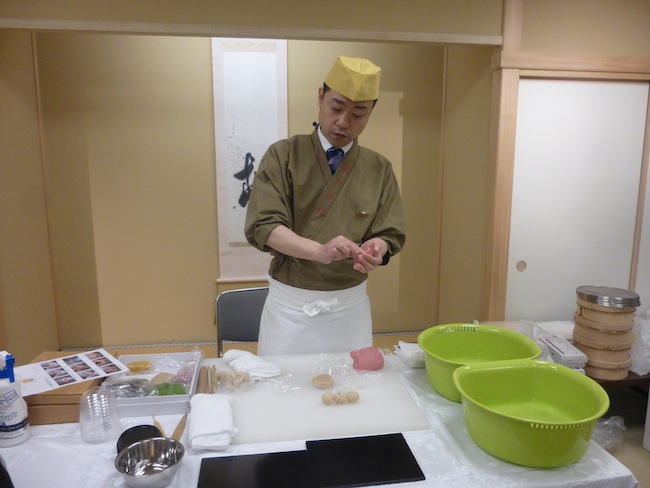
First, master wagashi chef Mr. Umezu from the Kyoto based confectioner Tsuruya Yoshinobu, who was going to be our teacher for the day, showed us how the process was done. Tsuruya Yoshinobu is a maker of traditional Japanese wagashi confections with a history of over 210 years and their beautiful seasonal creations are popular not just as a treat for yourself and your family but as gifts as well.
In the seminar, we were first going to make a pink hanamizuki (dogwood flower) shaped wagashi.
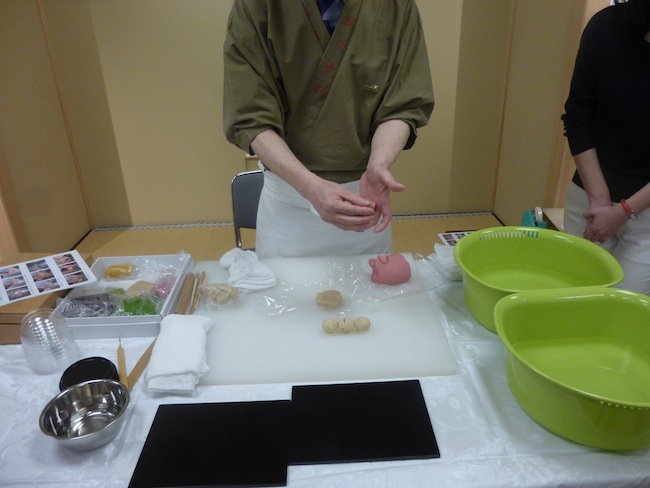
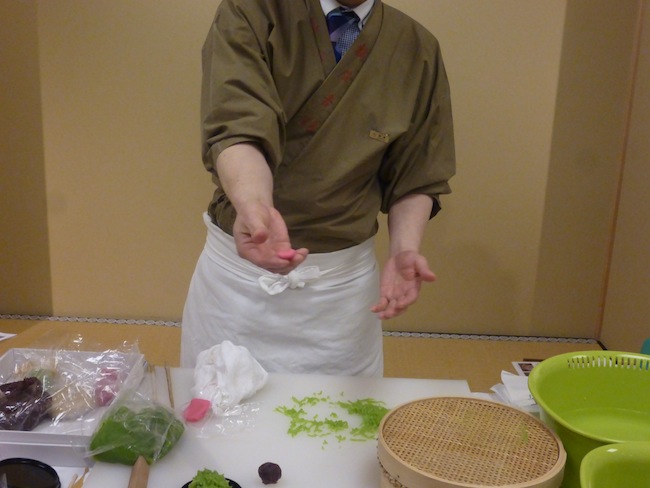
▼ Umezu took a piece of the pink konashi, a paste made by mixing an (bean paste) with regular flour and mochi flour.
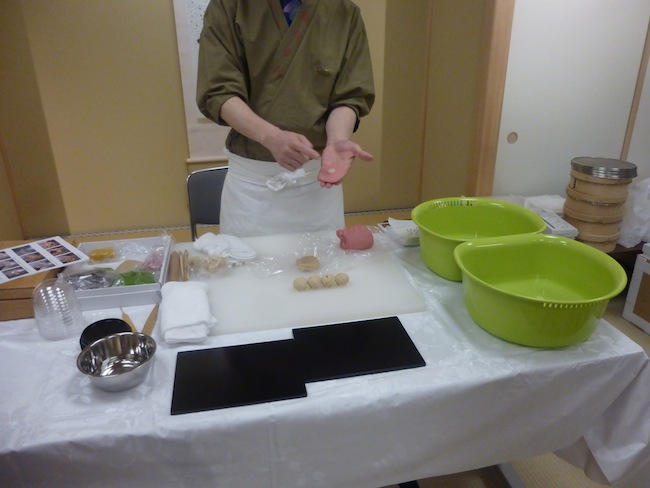
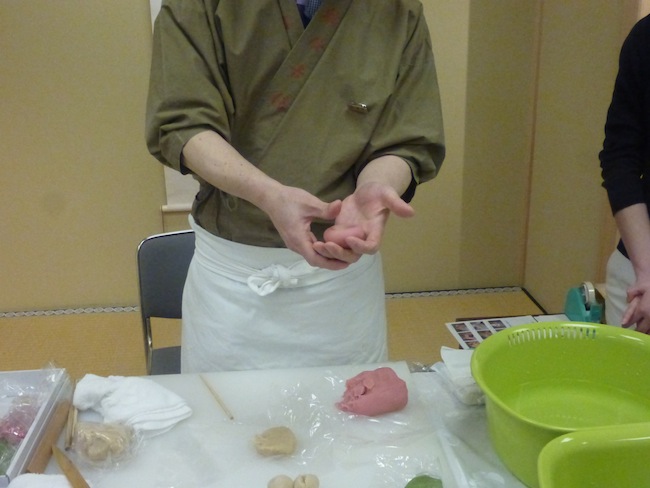
▼ He then flattened the pink paste out …
▼ …and placed a small piece of white konashi paste in the center of the pink, which he smoothed into the pink paste. You can also see that he prepared some round balls of white an paste.
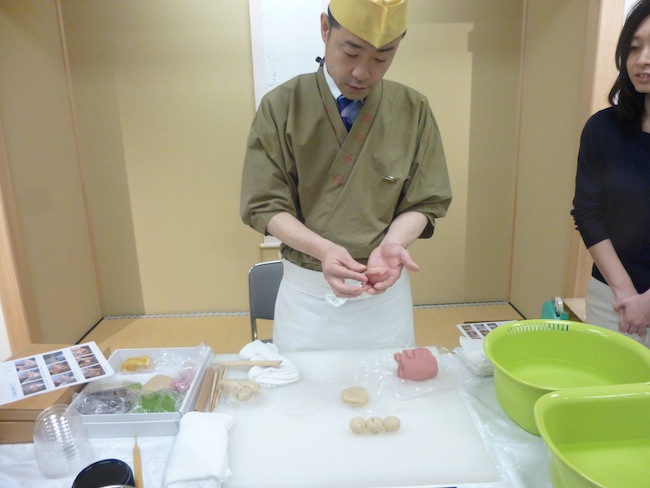
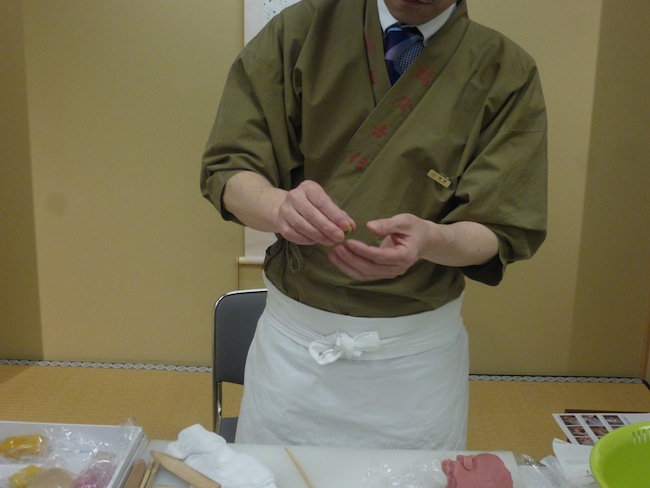
▼ He then wrapped the ball of white an in the flattened out piece of pink konashi.
▼ He now had the basic shape of the flower, with a white center.
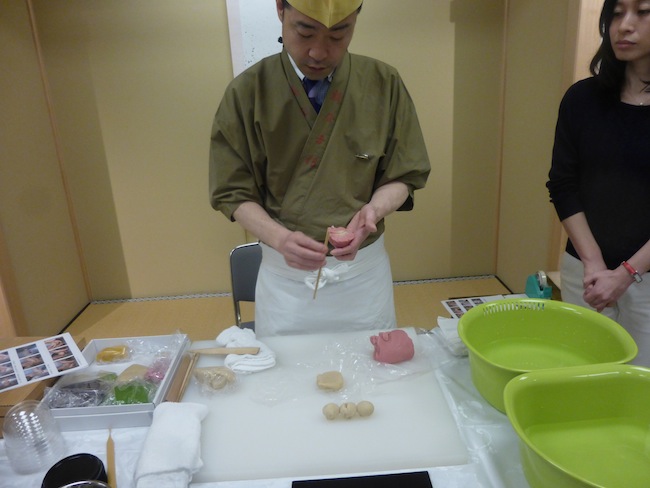
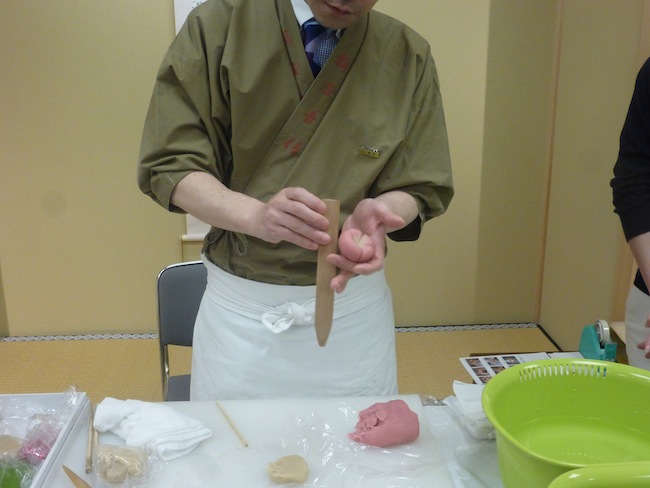
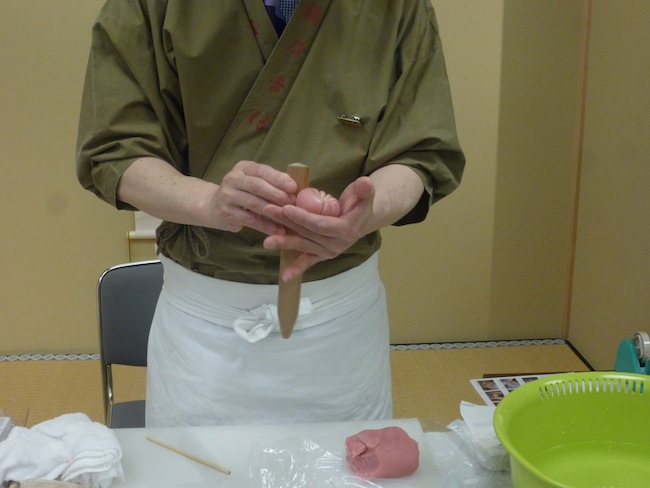
▼ He thinned out the edges on the top into petal like shapes …
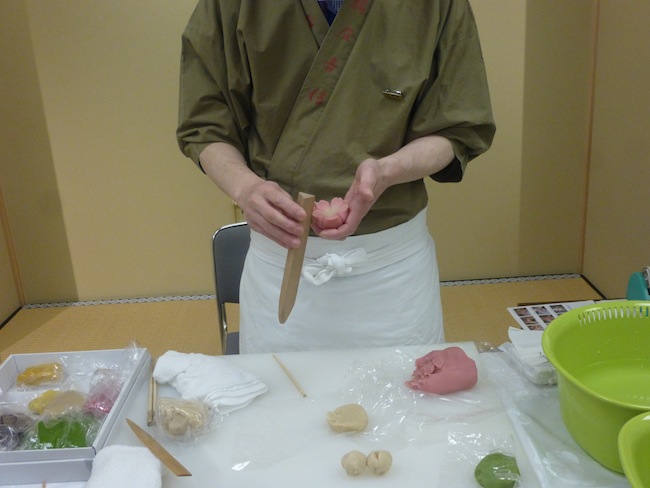
▼ … then placed some expertly angled cuts to complete the shape of the petals …
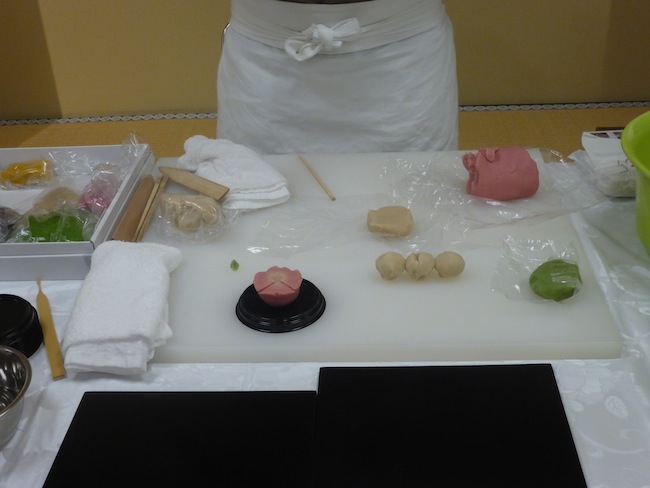
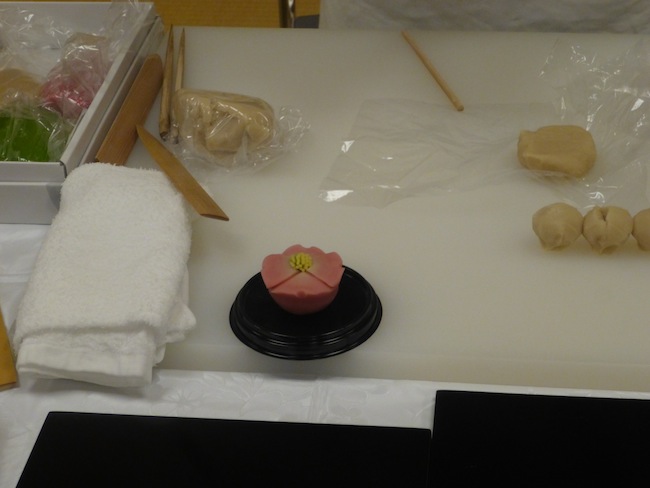
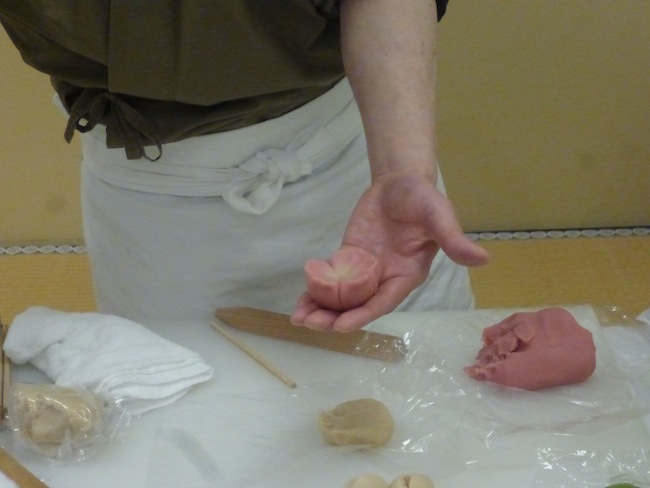
▼ … and the shape of the hanamizuki was complete!
▼ Umezu almost made the entire process look easy, but we had a sneaky suspicion it wasn’t going to be that simple when we tried it ourselves.
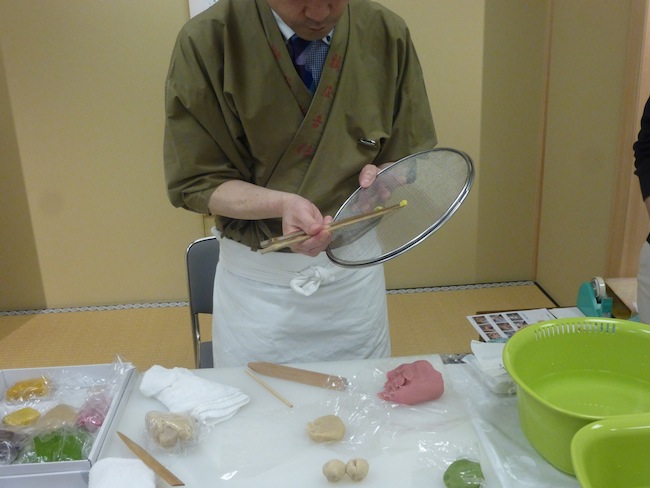
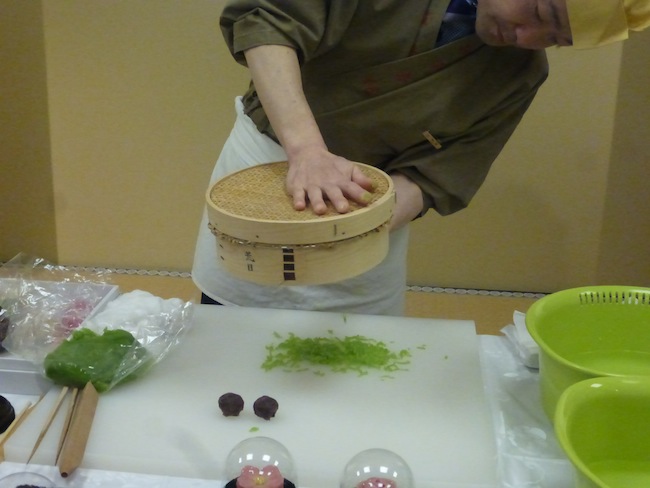
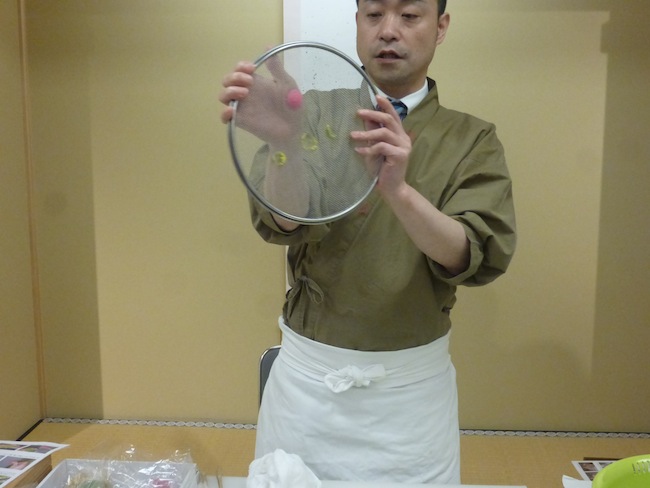
▼ But there was still a finishing touch to be added to the confection. Umezu took a small piece of green paste …
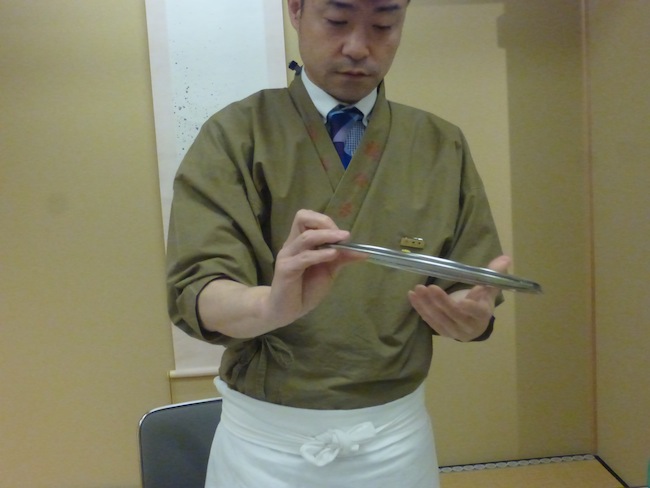
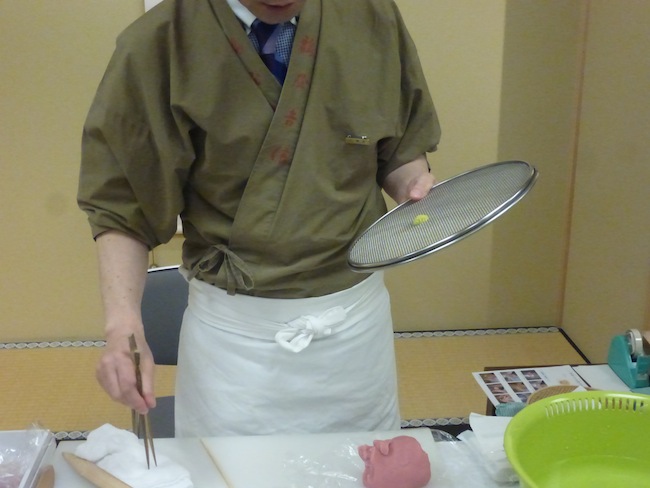
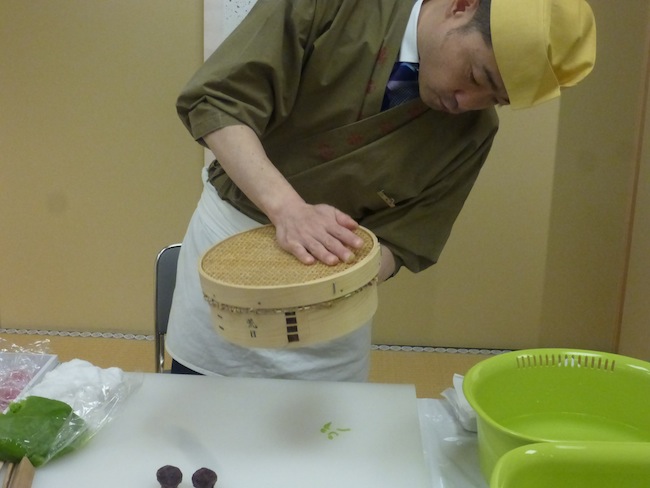
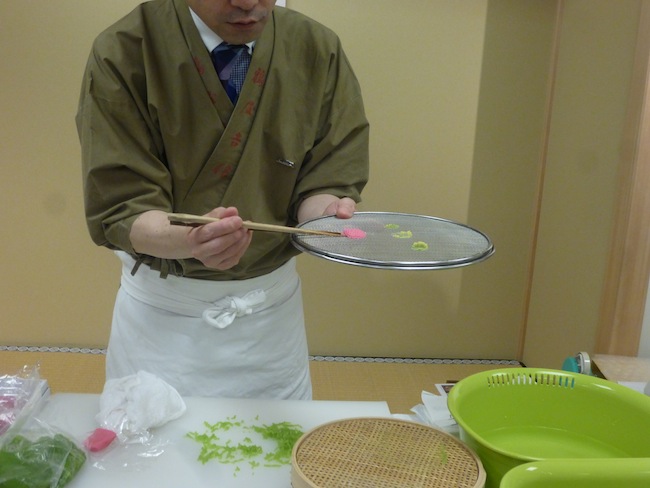
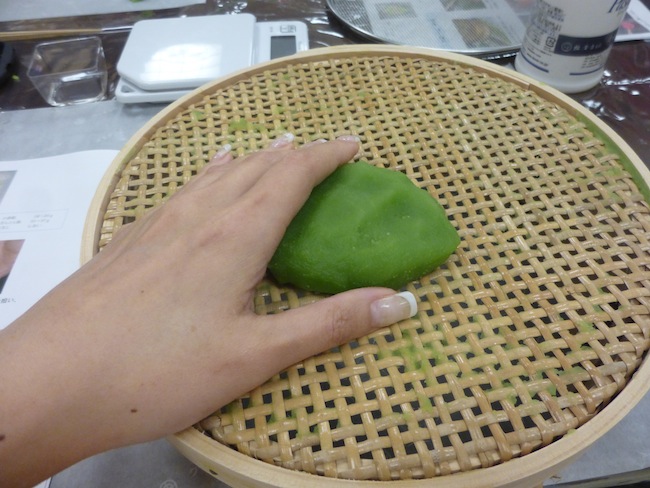
▼ …which he pressed through a sieve…
▼ …to get the paste into a delicately divided pattern…
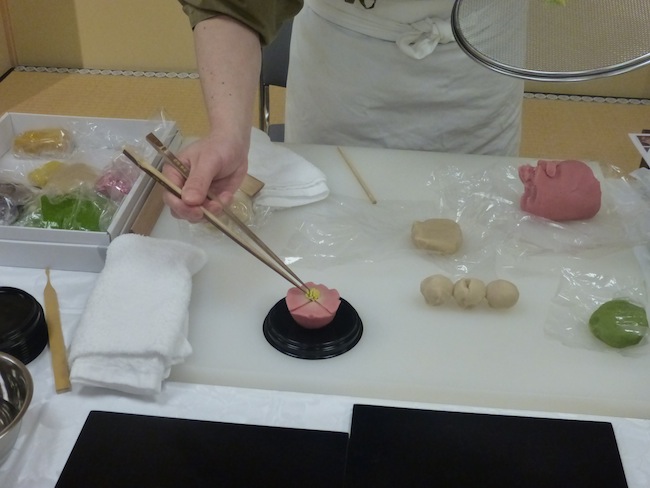
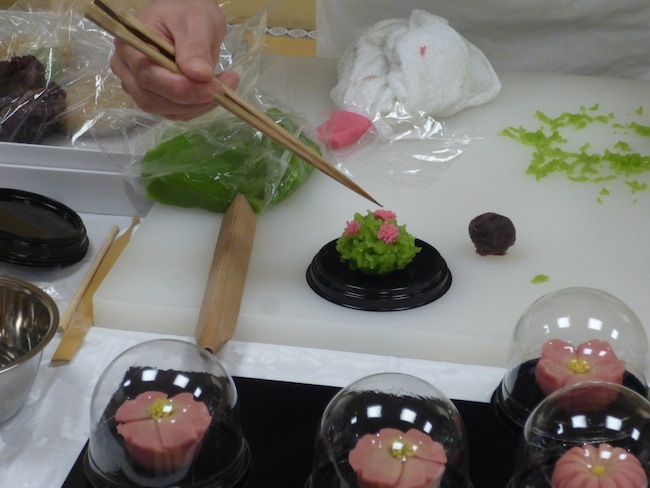
▼ …and the divided paste was placed on top of the confection as a decoration called the nioi (literally, scent or smell).
▼ We now had the complete hanamizuki confection — beautiful!
▼ Umezu also showed us how a sakura confection was made. The white an was again wrapped in the pink konashi in the same way it was done for the hanamizuki. But this time, he then flattened out the center of the combined paste.
▼ After adding some cuts to the side and center of the paste…
▼ …he now had a sakura shaped confection!
▼ Umezu told us that the sakura was easier to make than the hamamizuki (at least, it was supposed to be).
▼ Again, a green nioi decoration was made using the sieve, to be placed on top of the sakura.
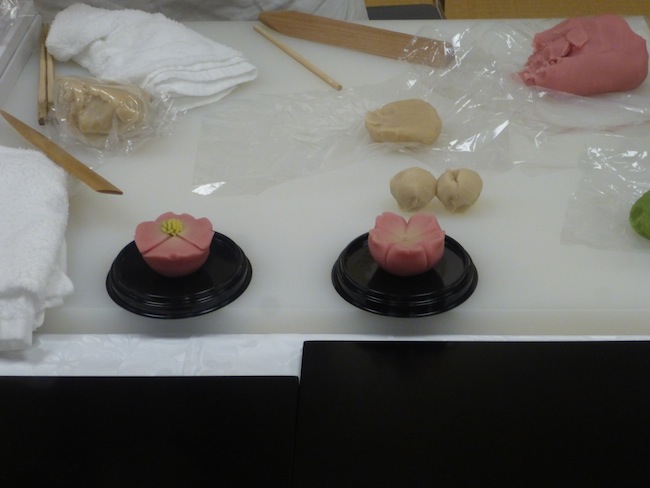
▼ There, we already had two lovely flower-shaped confections!
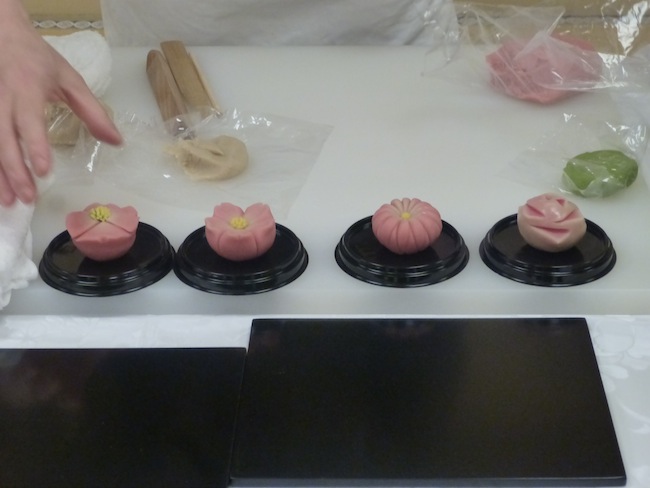
▼ Umezu created a few more “edible flowers” for us.
▼ The third flower was a chrysanthemum, lined with numerous cuts along the side to represent the petals…
▼ …and the fourth was a delicate rose!
▼ Simply exquisite. These flowers may not have smelled sweet, but they certainly promised to taste sweet!
Now, it was our turn to try to create flowers from paste. Okay, so they prepared all the an and konashi pastes for us, which means we didn’t have to start from scratch, so we admit we had it quite easy.
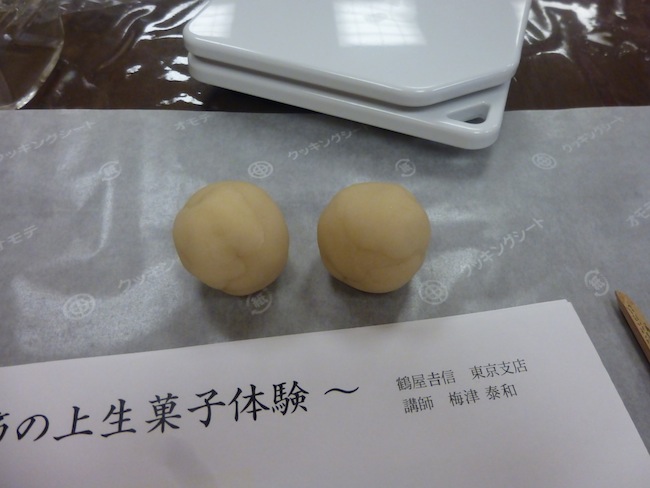
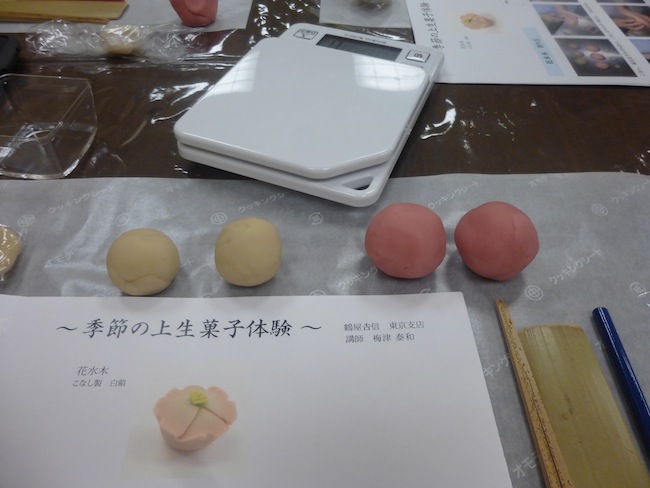
▼ Just like we’d seen Umezu-sensei do, we rolled the white an ….
▼ …and pink konashi into appropriate sized balls.
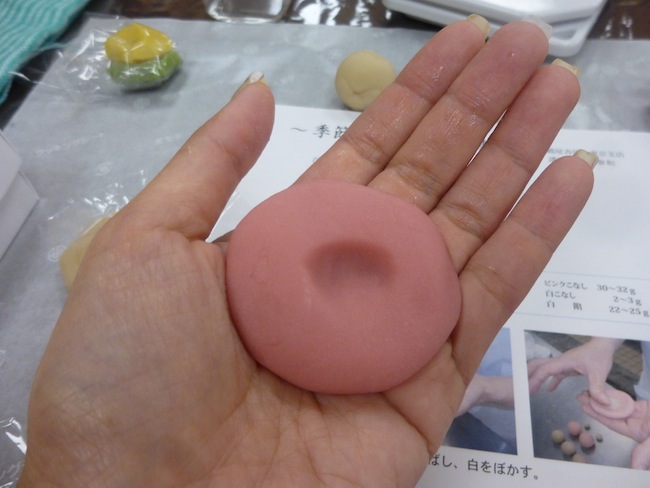
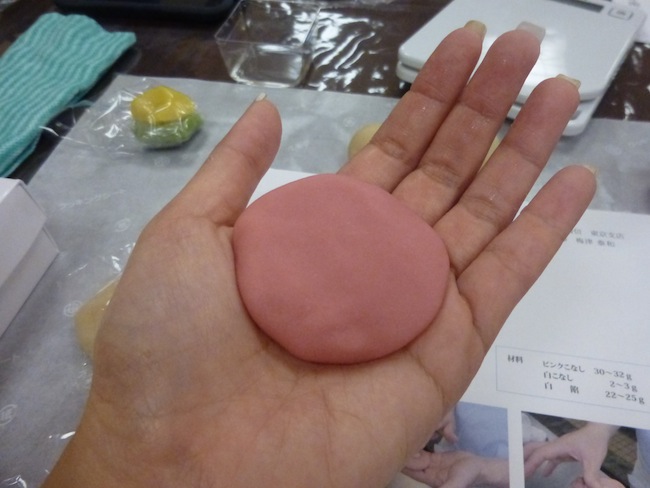
▼ We flattened out the pink konashi and made a groove in the center…
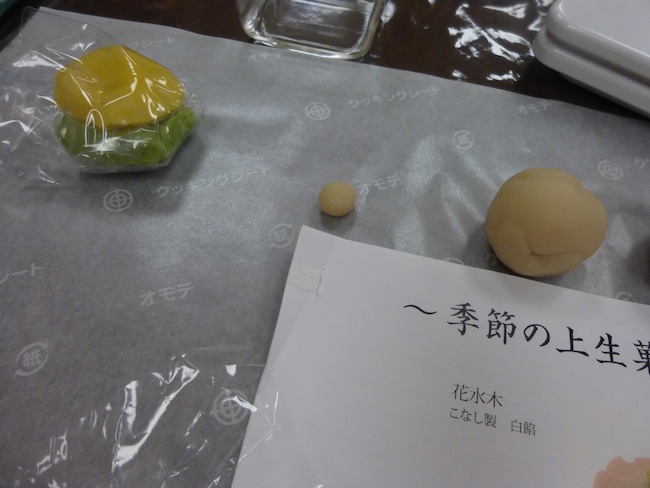
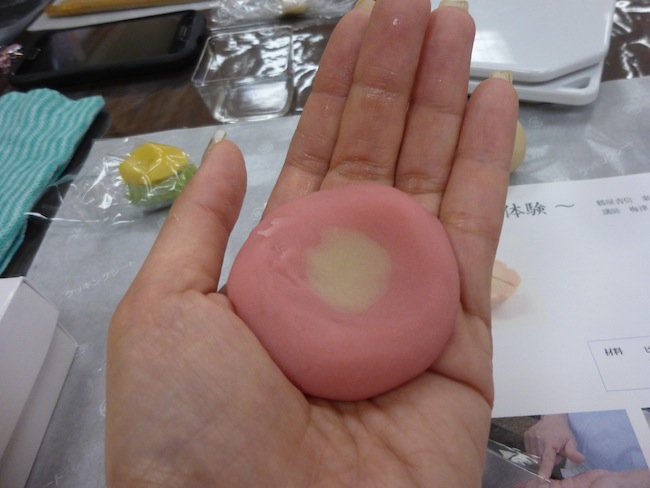
▼ …into which we placed a small piece of white konashi…
▼ …and smoothed it out to blend with the pink.
▼ We then turned the paste over…
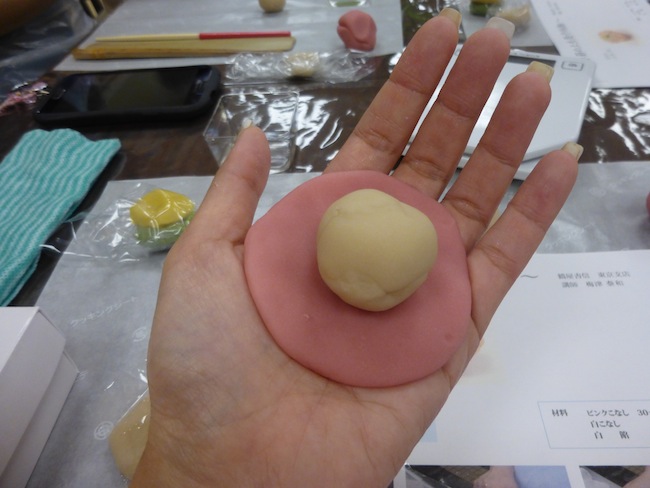
▼ …placed the ball of white an on top…
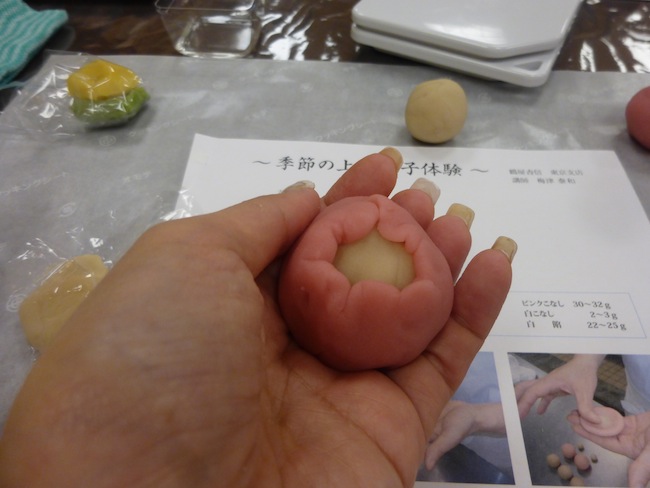
▼ …and wrapped it all up.
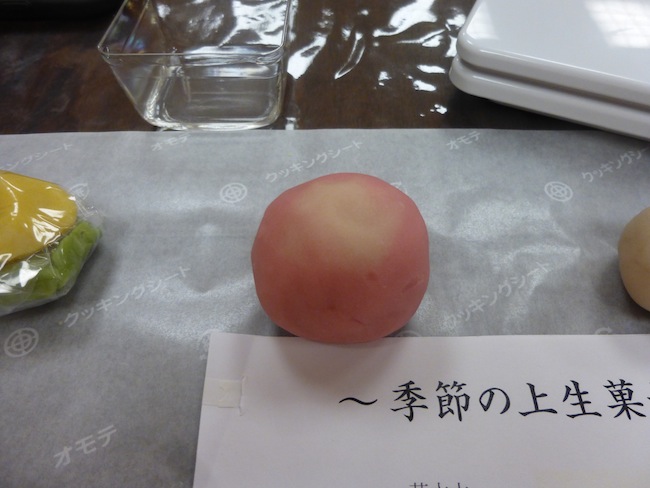
▼ We now had a nice little ball with a white center.
Unfortunately, our efforts to create the hanamizuki after this did not turn out so well and what we ended up with was not exactly…well, photo-worthy.
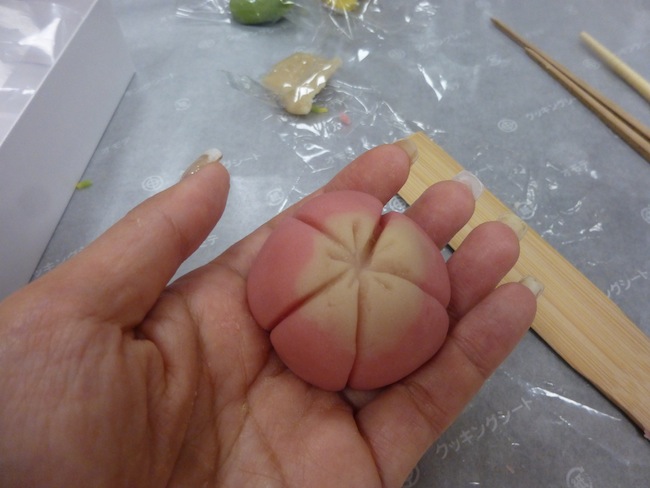
▼ So, we decided to make a sakura on our second attempt, which looked considerably better (after some much-needed help from Umezu-sensei.)
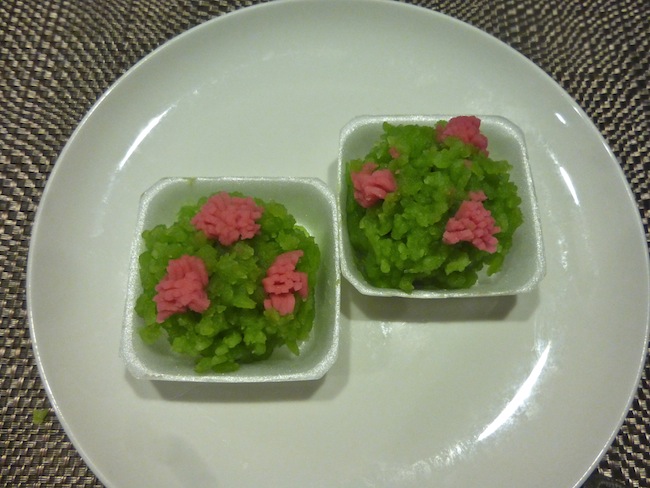
But we weren’t done yet. We were also going to make a type of wagashi called kinton, which typically involves a ball of sweet bean paste being coated with colorful flakes of another kind of coarsely sieved paste.
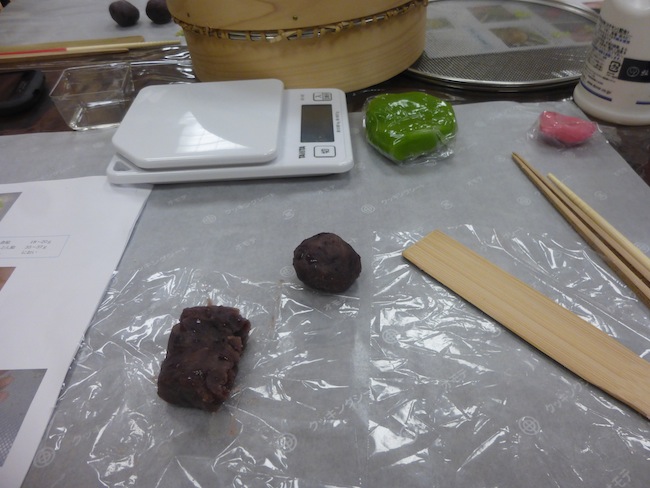
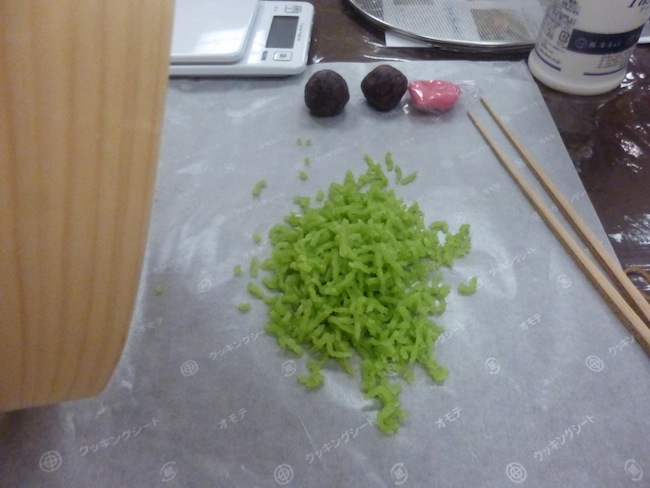
▼ Again, Umezu first showed us how it was done. He prepared two balls of ogura an (sweet red bean paste).
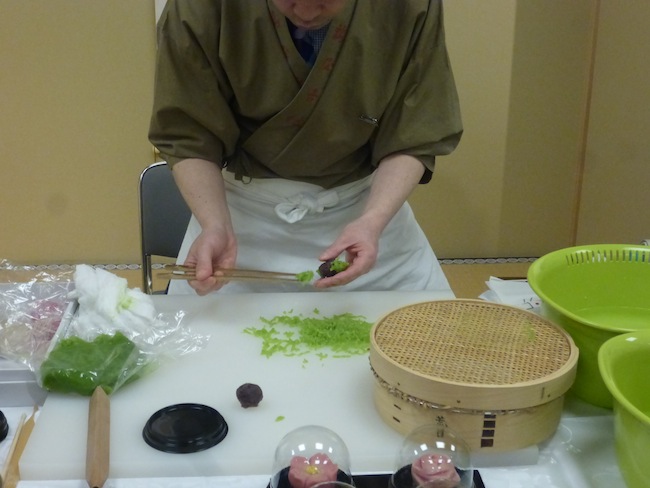
▼ He then took a good amount of green colored an paste …
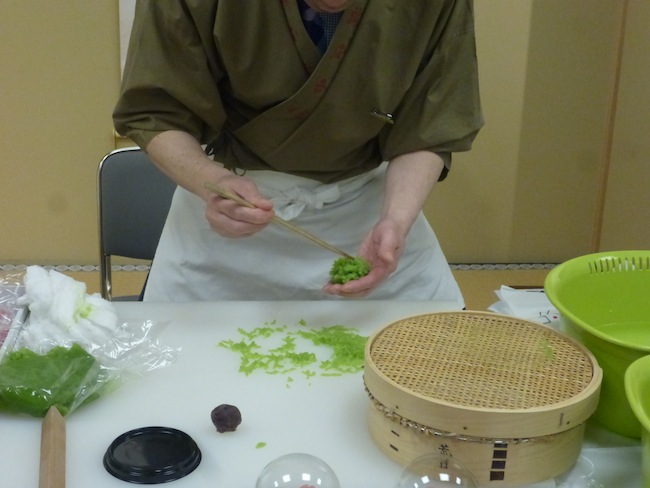
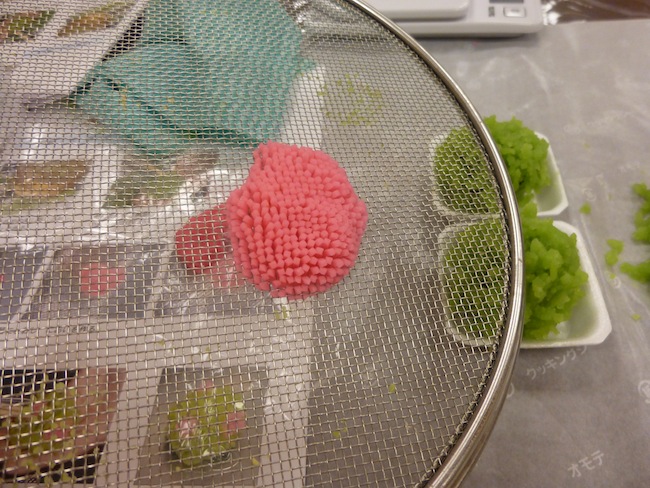
▼ …and ground it against a course wooden sieve to get fluffy green flakes of paste.
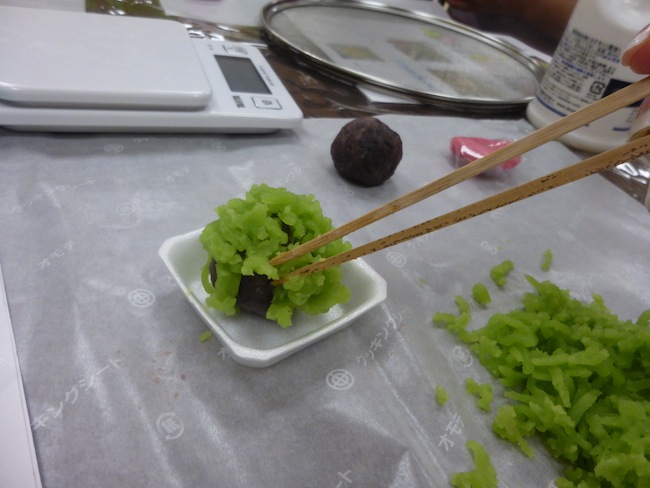
▼ Then all you had to do was cover the ball of red bean paste with the green flakes…
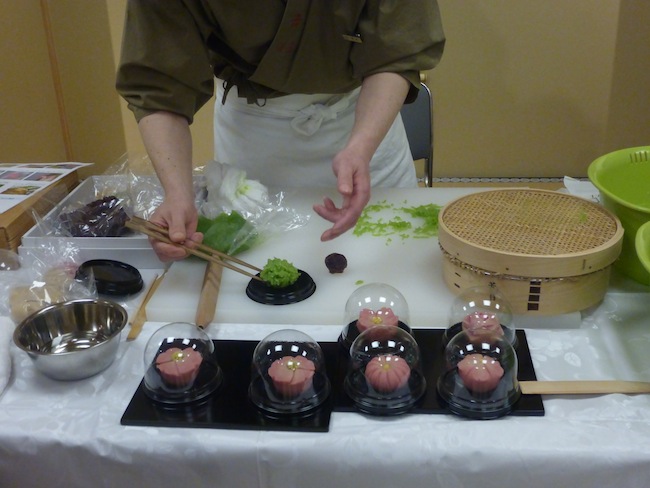
▼ …and again add a little nioi ornamentation using some pink konashi paste.
▼ The pink konashi was pressed throughout he sieve …
▼ …and small pieces of it were added onto the kinton confection to add some color.
▼ The green and pink colors contrasted beautifully!
▼ And yes, we were going to make our own kinton too.
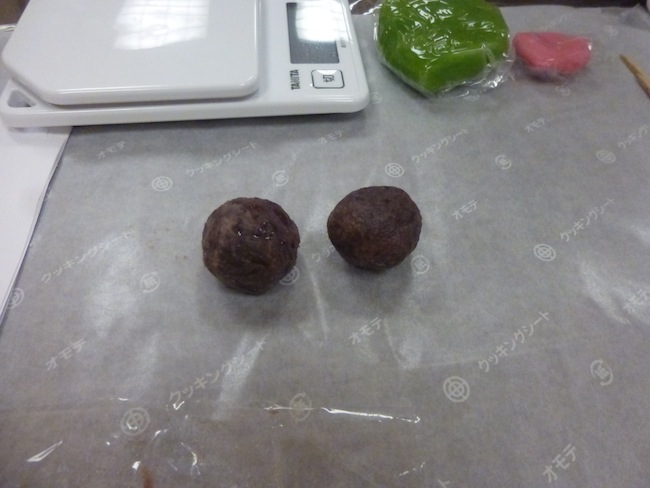
▼ We made two red bean paste balls…
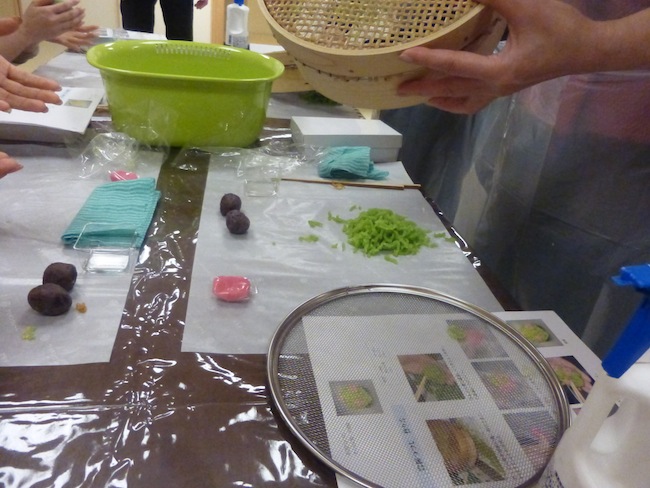
▼ …then we all took turns sieving the green an paste.
▼ We had fun getting our hands green in the process.
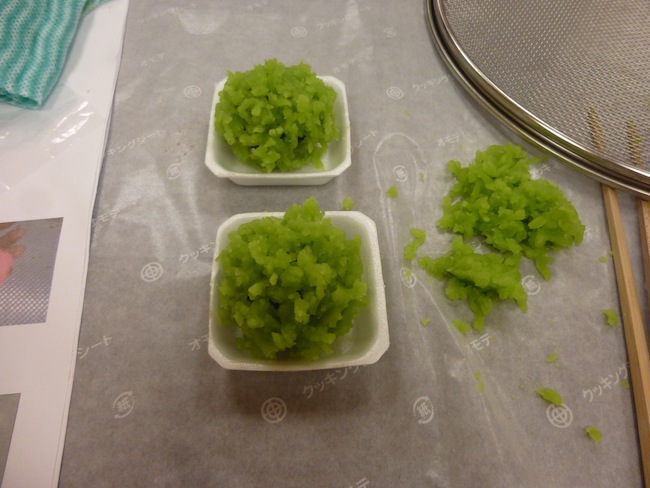
▼ Once we had the pretty green flakes…
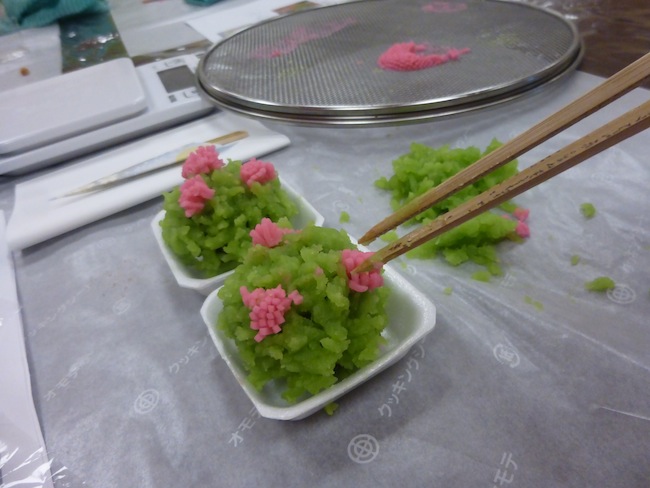
▼ …we delicately placed them onto the balls of red bean paste …
▼ …until they were all covered.
▼ Next, to make the nioi decorations, we pressed the pink konashi through the sieve…
▼ …and placed them onto the kinton in tiny pieces.
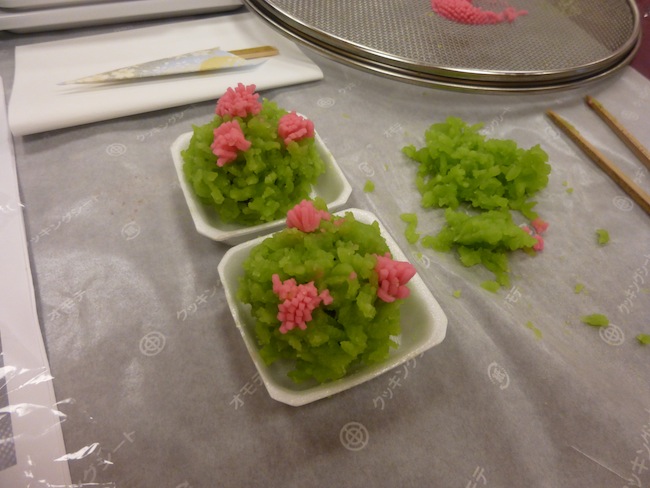
▼ And there, we had our finished green and pink kinton!
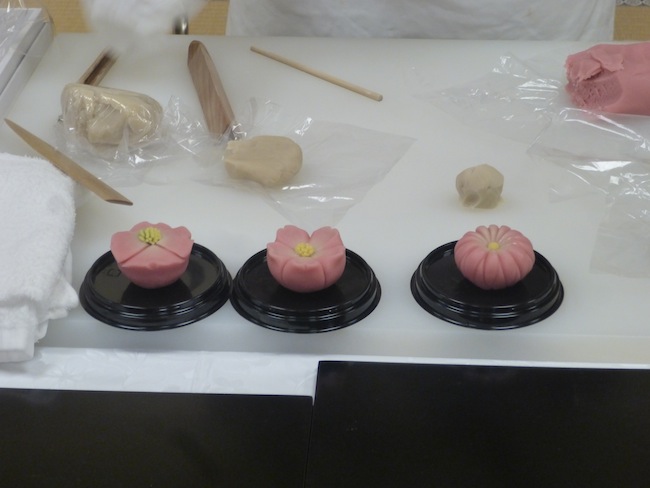
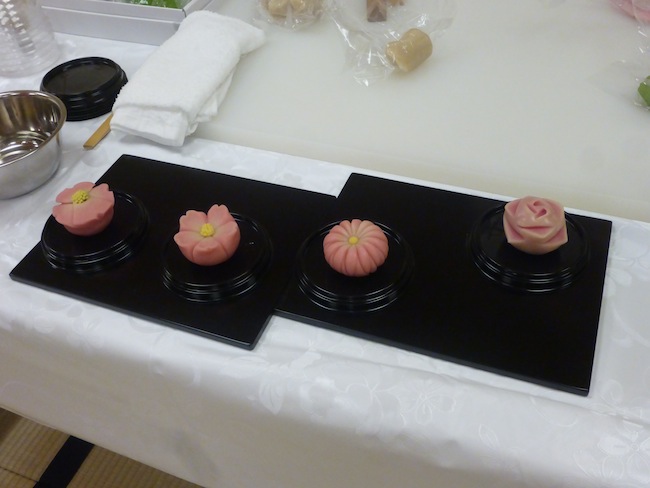
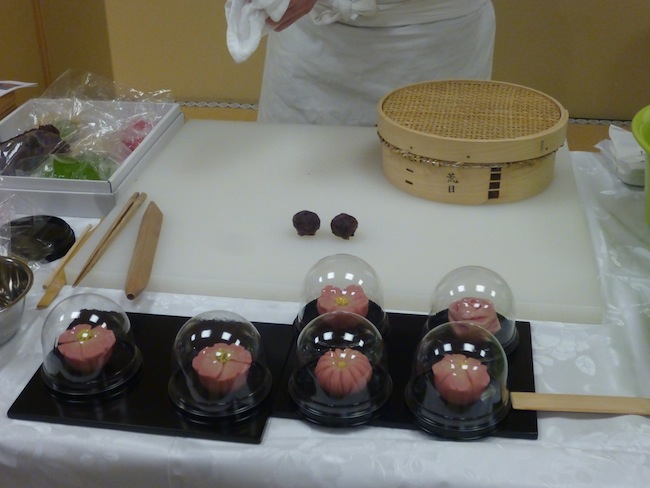
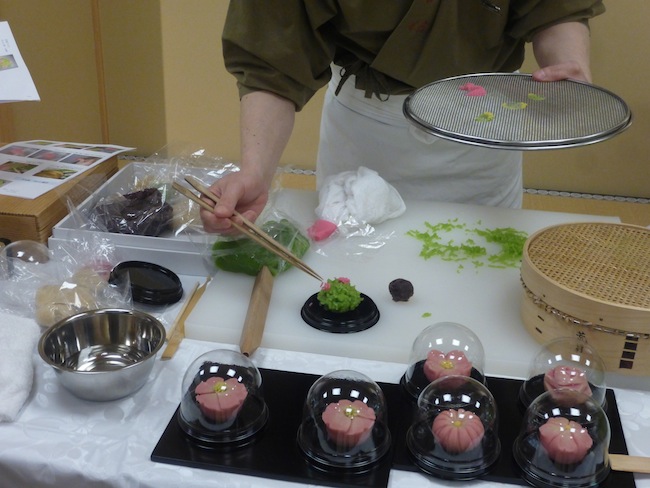
▼ Meanwhile, these are all the gorgeous namagashi that were created by Umezu during the seminar.
Now, in the second part of the seminar, after a morning of attempting to make Japanese confections, we were going to be treated to some Japanese tea served the traditional way.
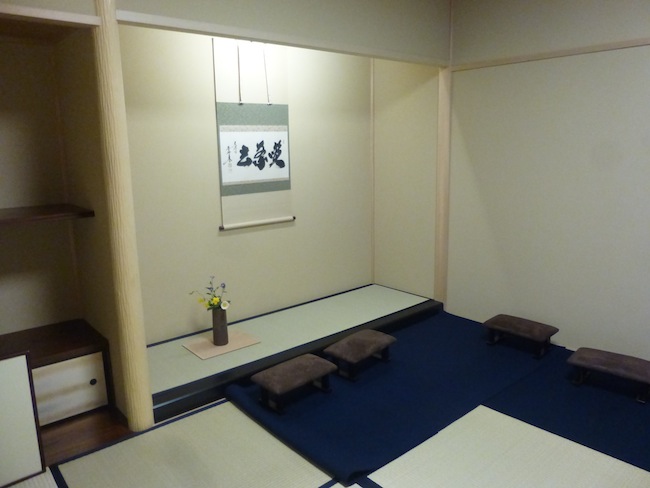
▼ For the tea, we were led to a separate tea room that was decorated with a vase of seasonal flowers and calligraphy on the wall expressing a feeling of camaraderie and welcoming anyone to join in for some tea.
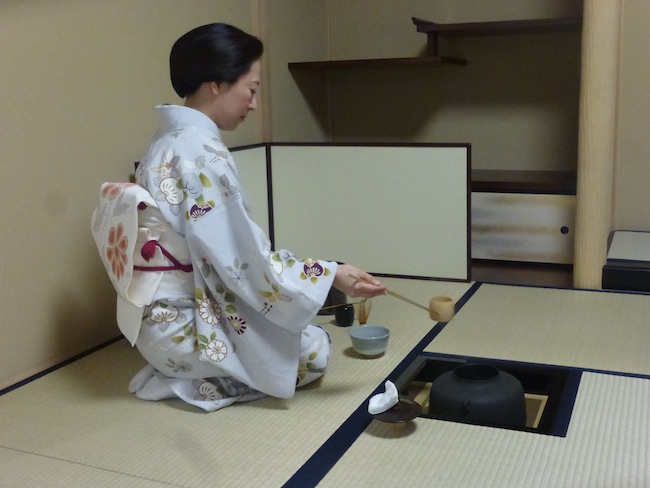
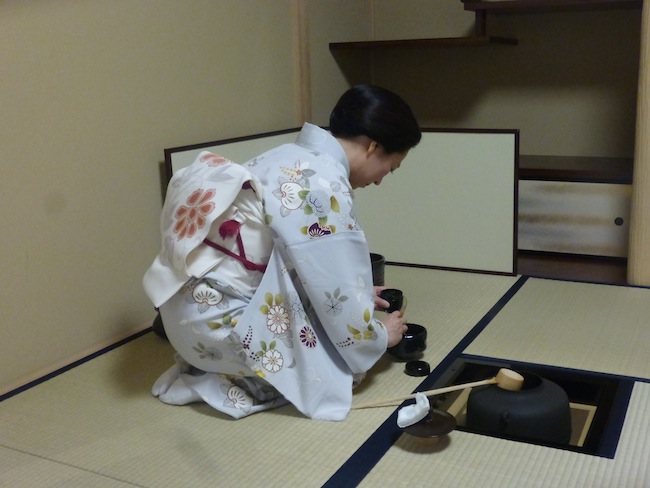
▼ The tea was prepared in front of us in the traditional way. The quiet ceremony was relaxing and soothing.
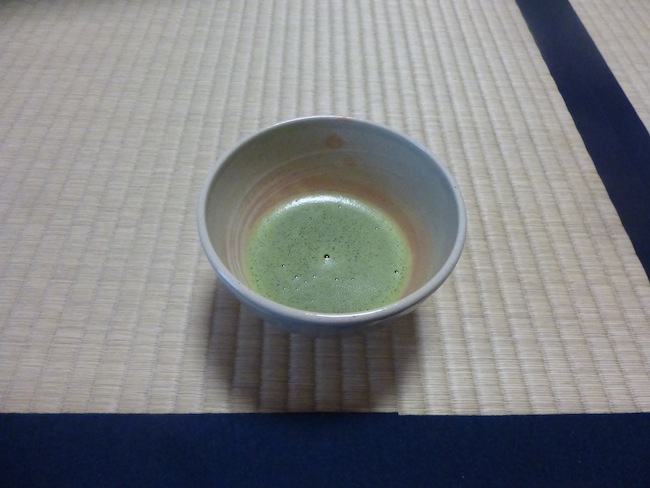
▼ And here’s the green matcha tea we were served. The tea used was the “Miosno no Shiro” (literally, “The White of the Garden”) from the tea company Seisyoen.
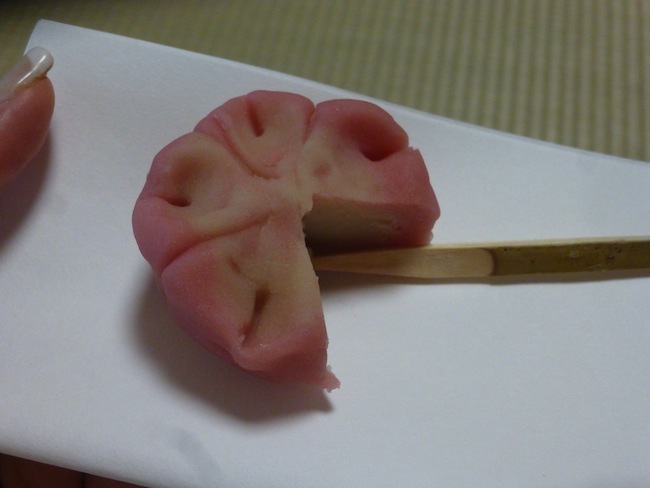
▼ We also had one of the namagashi we made ourselves with the tea. We have to say it made for an excellent ending to the morning!
▼ We also got to take home the other confections we made and enjoy them later as desserts!
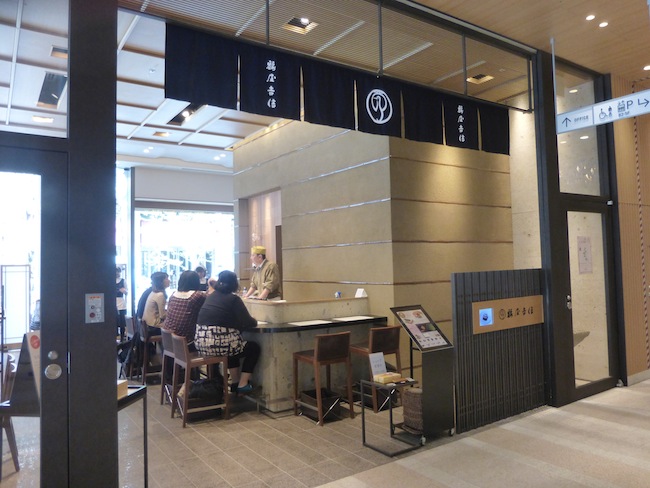
▼ And if you really enjoyed the sweets, you can buy wagashi from the Tusuruya Yoshinobu shop on the first floor of the Corredo Muromachi 3 building.
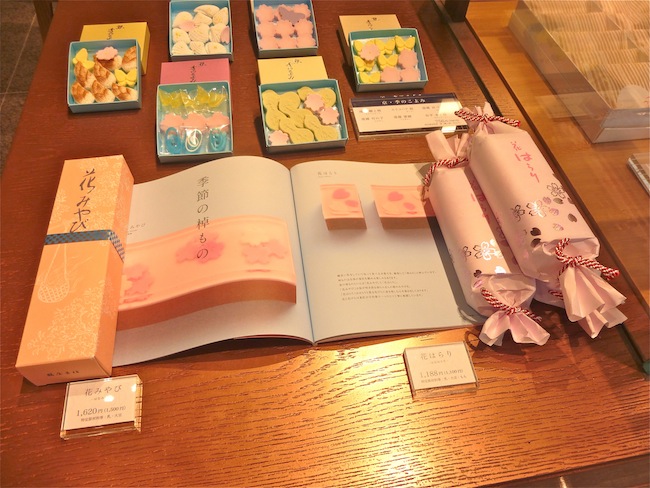
▼ They always have such beautiful seasonal sweets on offer, you’re sure to have a hard time choosing!
So, that wraps up our report on our wagashi making experience. We have to say, it was a thoroughly enjoyable experience, and at 3,000 yen (US$25) including the sweets to take home and the tea, we thought it was quite reasonably priced too. The an paste provided by Tsuruya Yoshinobu was certainly tasty in an elegant way, and we’ve definitely become fans of the confectioner.
If you’re visiting Japan and interested in such activities or cultural arts, you may want to check out some of the programs Shinnichiya has for foreign visitors, including sushi roll making, tea ceremonies, and performances by professional geisha and shamisen players. It could be the perfect way to mix culture and entertainment!
Related: Corredo Muromachi website
Photos © RocketNews24





 Kyoto store makes embroidered badges, tests our knowledge of traditional Japanese sweets
 We tried making traditional Japanese sweets at home then had some fun with the leftovers
 Eight great Japanese sweets for celebrating Wagashi Day (or just for celebrating today)!
 We steel our hearts and sample Namikoshiken’s too-cute-to-eat, aquarium-themed wagashi sweets
 We became Japanese sweet chefs for a day with Popin Cooking’s DIY wagashi set
 The 10 most annoying things foreign tourists do on Japanese trains, according to locals
 Yakuzen ramen restaurant in Tokyo is very different to a yakuza ramen restaurant
 Highest Starbucks in Japan set to open this spring in the Tokyo sky
 Saitama is home to the best strawberries in Japan that you’ve probably never even heard of
 Tokyo Skytree turns pink for the cherry blossom season
 How to order snacks on a Shinkansen bullet train in Japan
 Last chance coming up for amazing east Japan for all-you-can-ride Shinkansen-inclusive train pass
 One of Japan’s oldest castles now lets travelers spend night on the grounds, drink in its keep
 Mr. Sato eats banana flower, still isn’t sure what it tastes like, loves it anyway【SoraKitchen】
 Tokyo Station’s perfect breakfast spot might just be this izakaya Japanese-style pub
 Starbucks Japan releases new sakura goods and drinkware for cherry blossom season 2026
 Naruto and Converse team up for new line of shinobi sneakers[Photos]
 Is Sapporio’s Snow Festival awesome enough to be worth visiting even if you hate the snow? [Pics]
 Japan has trams that say “sorry” while they ride around town…but why?
 Sakura Totoro is here to get spring started early with adorable pouches and plushies
 Starbucks Japan unveils new sakura Frappuccino for cherry blossom season 2026
 Poop is in full bloom at the Unko Museums for cherry blossom season
 Now is the time to visit one of Tokyo’s best off-the-beaten-path plum blossom gardens
 Playing Switch 2 games with just one hand is possible thanks to Japanese peripheral maker
 Japan’s newest Shinkansen has no seats…or passengers [Video]
 Foreigners accounting for over 80 percent of off-course skiers needing rescue in Japan’s Hokkaido
 Super-salty pizza sends six kids to the hospital in Japan, linguistics blamed
 Foreign tourists in Japan will get free Shinkansen tickets to promote regional tourism
 Take a trip to Japan’s Dododo Land, the most irritating place on Earth
 Archfiend Hello Kitty appears as Sanrio launches new team-up with Yu-Gi-Oh【Pics】
 Survey asks foreign tourists what bothered them in Japan, more than half gave same answer
 Japan’s human washing machines will go on sale to general public, demos to be held in Tokyo
 Starbucks Japan releases new drinkware and goods for Valentine’s Day
 We deeply regret going into this tunnel on our walk in the mountains of Japan
 Studio Ghibli releases Kodama forest spirits from Princess Mononoke to light up your home
 Major Japanese hotel chain says reservations via overseas booking sites may not be valid
 Put sesame oil in your coffee? Japanese maker says it’s the best way to start your day【Taste test】
 No more using real katana for tourism activities, Japan’s National Police Agency says
 Make your own “wagashi” Japanese sweets at home with these creation kits
 Take bites of the Milky Way and summer with traditional, Tanabata-inspired Japanese sweets【Pics】
 Studio Ghibli serves up My Neighbour Totoro with a side of traditional Japanese wagashi sweets
 Japanese convenience store chain adds Neo Wagashi sweets to its lineup
 300 year old Japanese confectioner gets ’serious, for real’ with a vegan, gluten free dorayaki
 We eat Japan’s oldest sweet, available at only one store in all of Japan
 Kirby turns into Japanese monaka sweets, looks as adorable as ever!
 Enjoy confectionery the Super Saiyan way with these new Super Dragon Ball sweets