
Just mix the ingredients, chill, and enjoy!
It turns out that it’s pretty easy to make your own cheesecake so long as you have some yogurt, some cream cheese, and some gelatin to help it all set. Our resident reporter and culinary innovator Mr. Sato was so inspired by this discovery that he thought up a brand-spanking-new recipe of his own, with one key difference: chocolate.
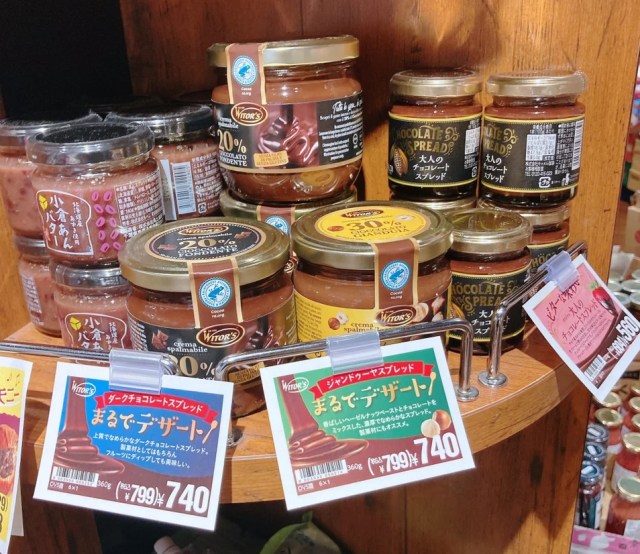
Kaldi Coffee Farm’s Dark Chocolate Spread, to be exact. Mr. Sato has been shopping at the international ingredients chain quite often as of late, so it’s no wonder this little pot of chocolatey goodness leaped out to him. Though he used Kaldi’s Dark Chocolate Spread, he recommends Gianduja Spread, Mature Chocolate Spread, and Nutella, depending on your own taste preferences.
▼ The one Mr. Sato used costs 740 yen (US$6.61) for a 360-gram (12.69-ounce) pot.
Are you ready to learn how to make super easy chocolate mousse?! Who am I kidding? Of course you are!
Ingredients:
-
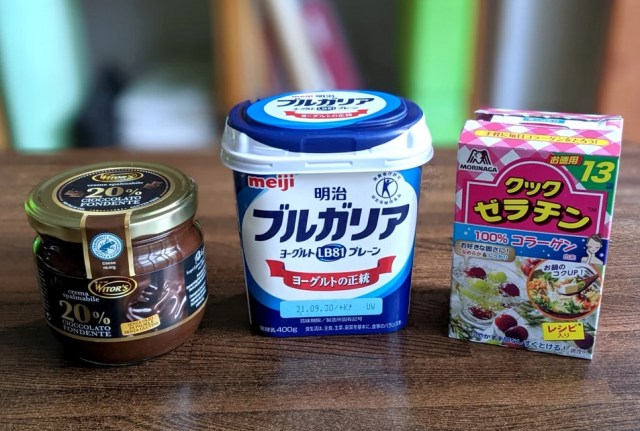
- Yogurt (350 grams/1.5 cups)
- Dark chocolate spread (90 grams/6 tablespoons)
- Powdered gelatin (8 to 10 grams/1.8 to 2 tablespoons)
- Sugar (to taste)
▼ The main stars of this recipe, all lined up.
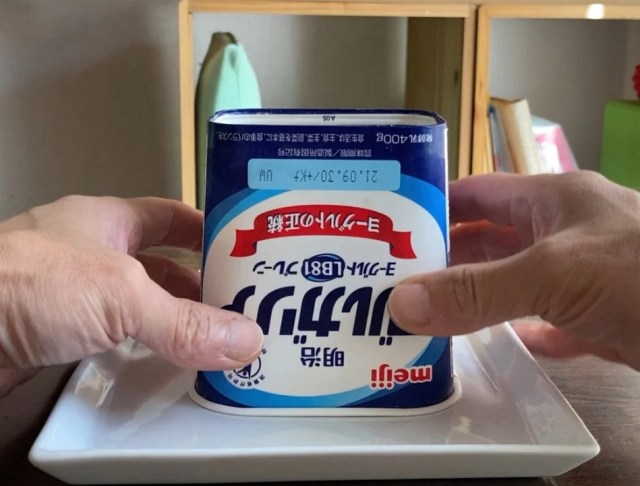
First, weigh out your yogurt and pour it into a mixing bowl. Keep the yogurt container—it can be used to shape and cool the mousse in the final stages, so clean it out and leave it to dry. Then add your chocolate spread.
▼ Yum, appetizing.
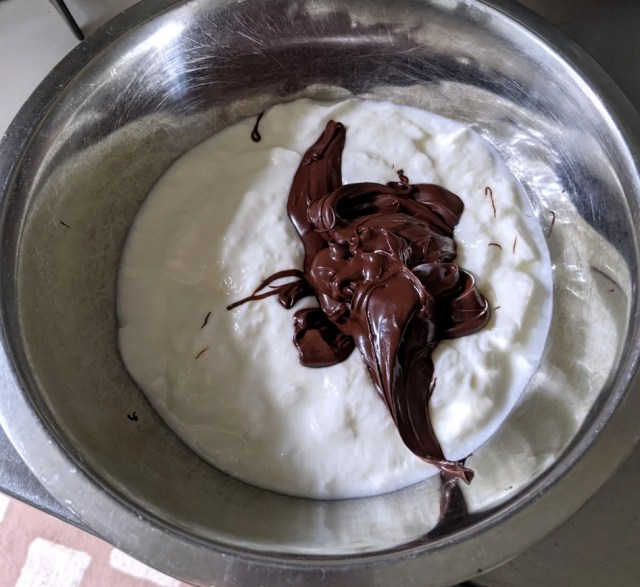
Mix the two ingredients together with a whisk until it’s smooth.

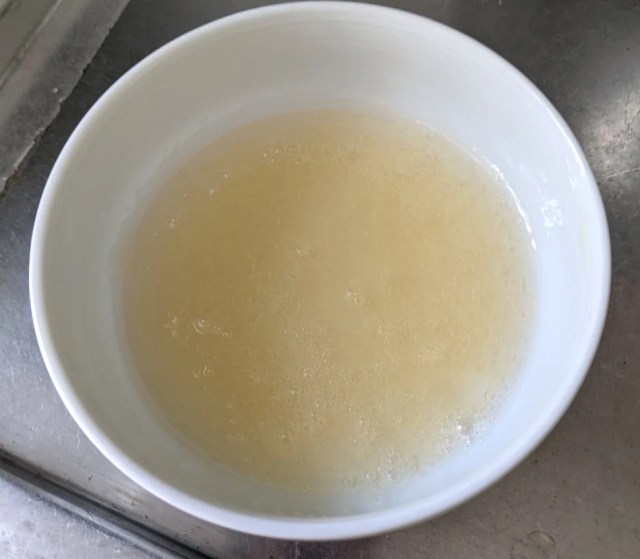
Next, prepare the gelatin by dissolving it in a small bowl of hot water.
Use a separate bowl to gradually combine a small amount of the yogurt mixture and the gelatin, bit by bit. Adding it all at once will make the mixture lumpy and clumpy, and no one likes those adjectives applied to their chocolate mousse.
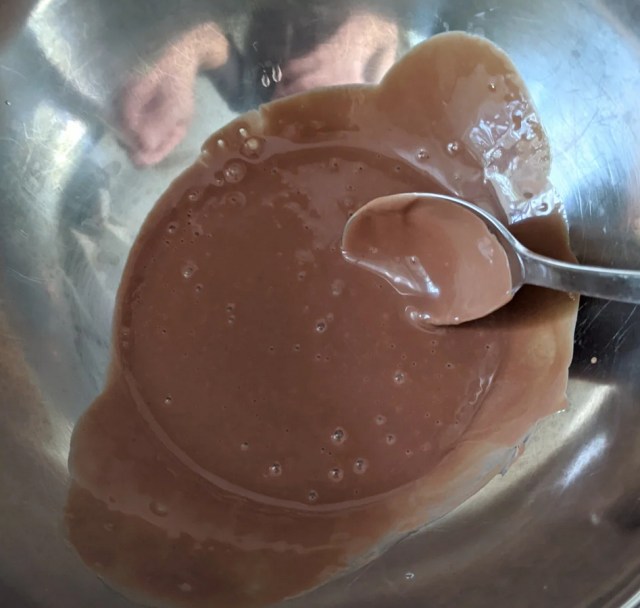
Once the gelatin is more of a paste, combine it completely with the mixture in the main bowl and mix it until it has an even consistency. Put the mixture through a strainer to remove any lumps of gelatin and make sure you have a smooth, delicious mousse left at the end.
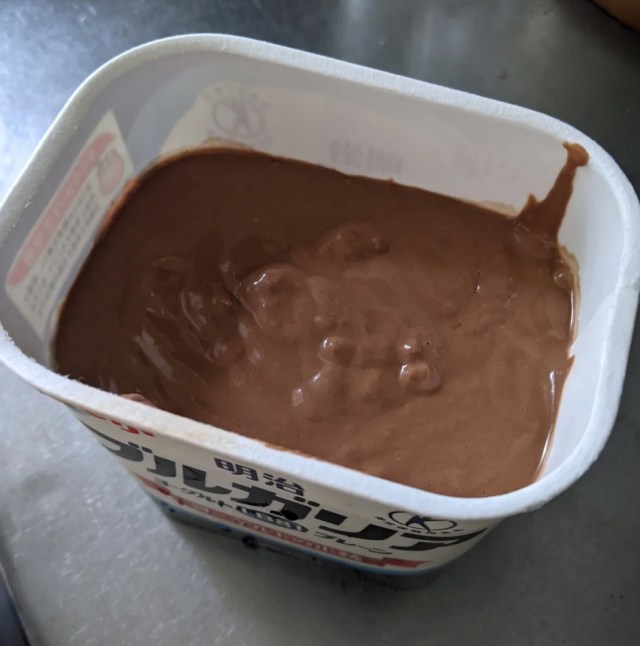
After one more mix for good luck, pour the contents into the yogurt container.
▼ Give the container a good tap to make sure it all settles at the bottom!
Then pop it in the refrigerator and leave it for two to three hours to set.
…
Okay, skipping forward two hours:
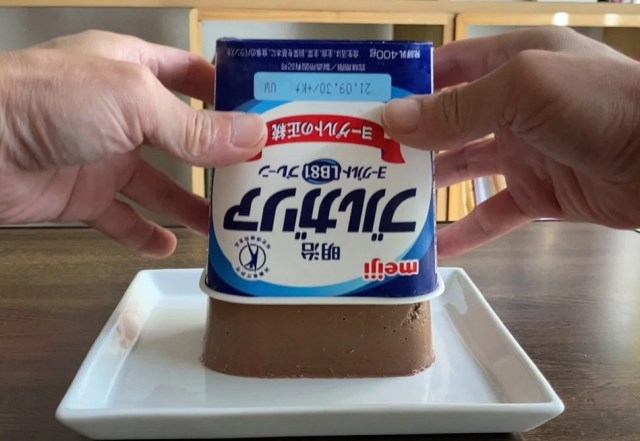
Tip the container over onto a plate to get it out. If the mousse won’t budge, try poking a hole in the base of the container, or cutting out the base to free it.
Hold your breath, everyone…
Yes…
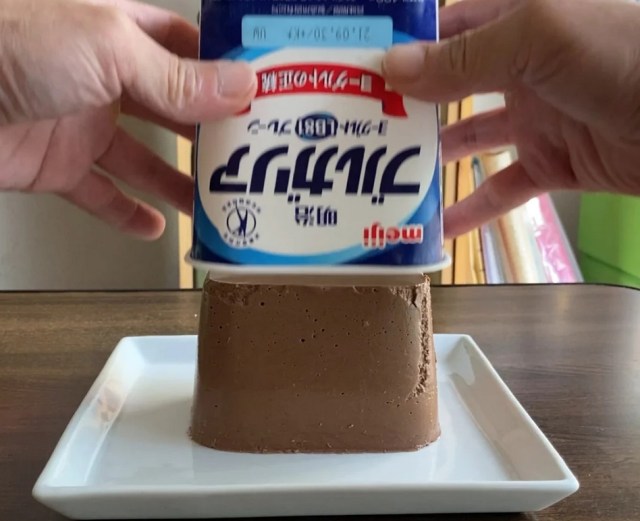
Yes!
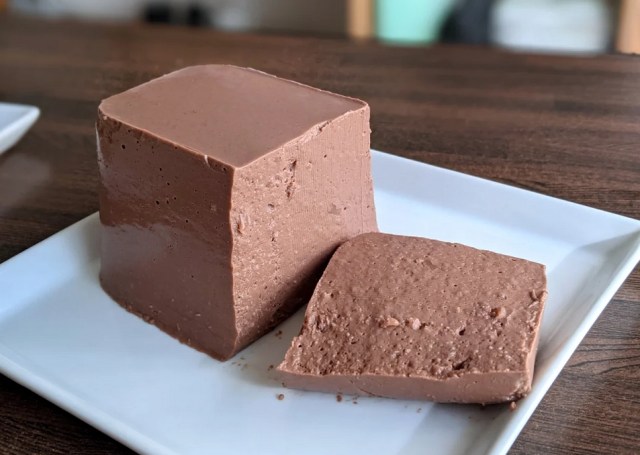
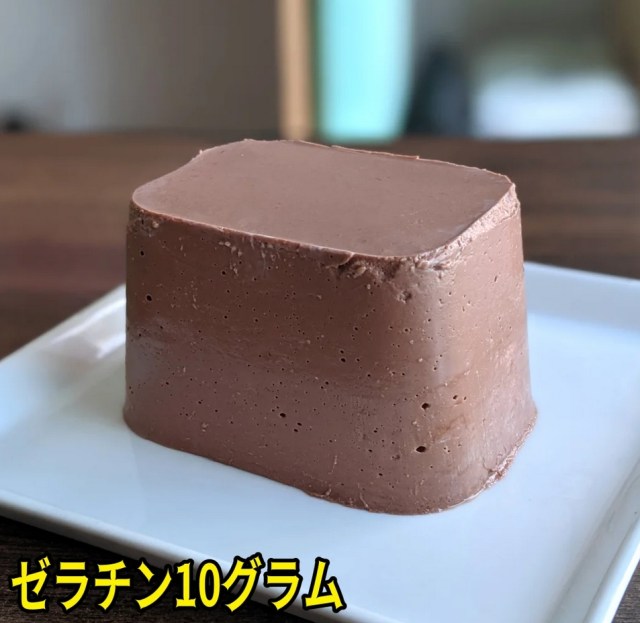
▼ Magnifique!

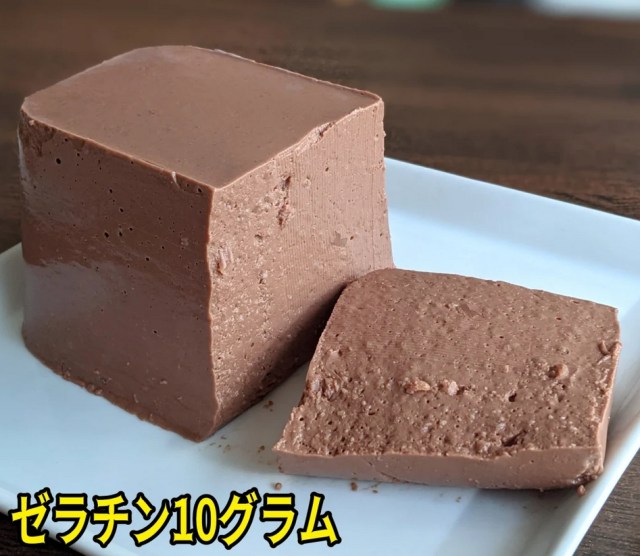
This one specifically was made with 10 grams of gelatin and it came out very handsomely. There are a few bubbles here and there dotting the surface, but it has a robust form and sits on the plate without collapsing into goop.
With it sat on the plate, feel free to subject it to the ultimate test—wiggling it back and forth a bit with your hand.
▼ *wigglewigglewiggle*
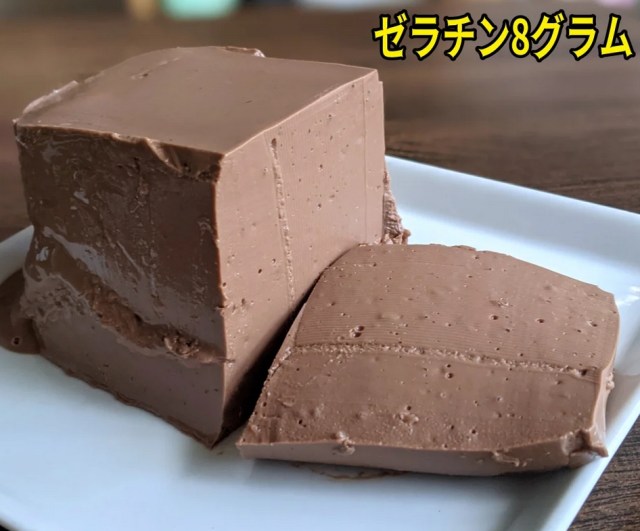
Meanwhile, the 8-gram gelatin version is a bit…meltier. This doesn’t change how delicious it looks, but it’s less firm than the 10-gram version.
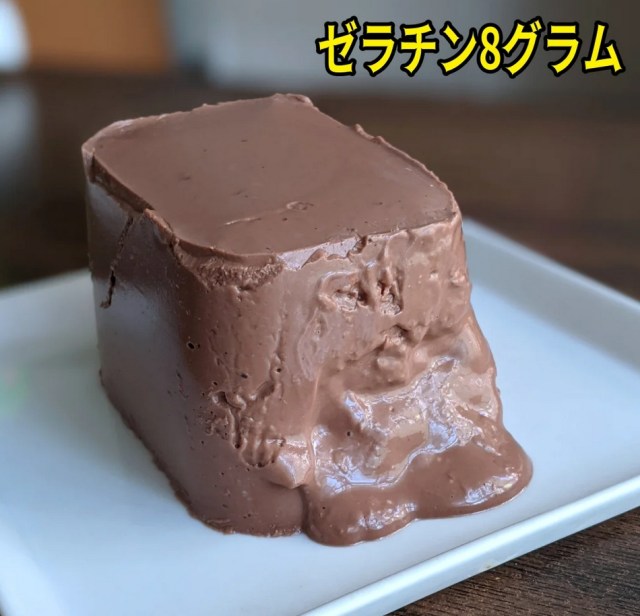
Time to test this one out too.
▼ *wurblewurblewurble*
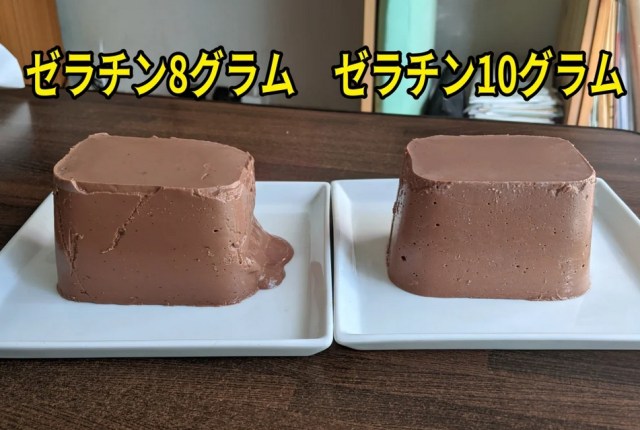
The 10-gram version is certainly prettier. Take a look at them side-by-side!
When sliced, it retains its shape beautifully.
The 8-gram version is a bit sloppier.
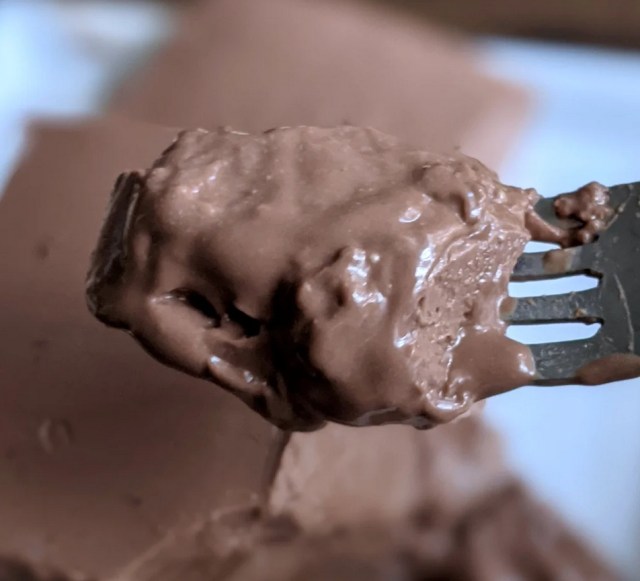
But funnily enough, Mr. Sato much preferred the 8-gram version! It was soft and velvety and would pair perfectly with some whipped cream.
Everyone has their own favorite consistency, though, so try experimenting until you find the perfect texture for your mousse. And once you’ve mastered this simple and delicious recipe, why not try some of our other kitchen experiments?
Images © SoraNews24
● Want to hear about SoraNews24’s latest articles as soon as they’re published? Follow us on Facebook and Twitter!
[ Read in Japanese ]
 This no-bake sweet sake super-easy dessert is a perfect summertime sweets companion【Recipe】
 We make chashu in just eight minutes, thanks to Kaldi’s microwaveable roast pork【Taste Test】
 How to make cheese with just three ingredients【SoraKitchen】
 This delicious naan-focaccia combination is the one thing we want for dessert right now【SoraKitchen】
 We can’t stop eating this chicken ramen noodle and chocolate snack we made【SoraKitchen】
 Cup Noodle unveils first-ever cold-water instant ramen in Japan
 Japanese government ID card and app to be required for certain Pokémon card purchases next month
 Studio Ghibli releases new Totoro coin purses…but who’s the blue character?
 Tokyo’s Giga Mart lets visitors “steal” from a convenience store… if cameras don’t catch you
 Studio Ghibli has a new anime out, and there’s only one place in the world where you can see it
 Hiker needs to be rescued from Mt. Fuji two times in two days, but system is working as intended
 Starbucks Japan adds shaved ice desserts to the menu at select locations
 Uniqlo looks back to the very start of Pokémon with new black-and-white pixel art T-shirts[Pics]
 Studio Ghibli brings anime characters to the table with new Totoro placemat that’s like a movie cell
 Onidon opens in Tokyo with unique fusion tempura rice balls you won’t find anywhere else
 Family Mart opens new “Famima” flagship store in Tokyo that’s like a tourist attraction
 Japan reacts to Donald Trump’s “Islamic Republic of Japan” remark
 Japanese airport rebrands itself as “Sushi Airport” to attract foreign tourists
 Three new starter Pokémon Jets to fly in Japan, first begins carrying passengers this month
 New Mt. Fuji overnight bus takes travelers from downtown Tokyo straight to the most popular hiking trail
 Tokyo revises accommodation tax amidst tourism boom, Airbnb rentals now included
 Yoshinoya and Dragon Quest slaying scalpers with shift to made-to-order collaboration merch
 Tochigi man shares his family’s process for creating 16 years worth of rice paddy art
 Japan announces sudden 400-percent increase in visa fees for foreigners entering the country
 Japanese ninja certification exam attracts 131 candidates from Japan and abroad
 Salomon releases Japan-exclusive Mt. Fuji hiking gear that doubles as an amazing souvenir
 Studio Ghibli store Donguri Republic announces opening of first-ever store in America
 Japan triples departure tax, foreign tourists and locals now must pay more to leave country
 Japanese sweets shop sells an ohagi so exquisite it sells out by noon
 Sanrio Character Poll announces winners, Hello Kitty absent from top 10 in many countries
 Japan’s human washing machines will go on sale to general public, demos to be held in Tokyo
 Starbucks Japan releases new drinkware and goods for Valentine’s Day
 Starbucks Japan releases new sakura goods and drinkware for cherry blossom season 2026
 Japan’s newest Shinkansen has no seats…or passengers [Video]
 Put sesame oil in your coffee? Japanese maker says it’s the best way to start your day【Taste test】
 Japan reportedly adding Japanese language skill requirement to most common foreigner work visa
 How to make a cartoon cheesecake that looks like Swiss cheese
 Turn a persimmon into a pudding with one simple ingredient
 How to make a Japanese Air Cheesecake with just three ingredients
 How to make Disney’s Chocolate Peanut Butter Banana French toast at home【SoraKitchen】
 Mr. Sato shows us what happens when you try to cook rice with only eggs 【SoraKitchen】
 How to make the best dalgona cookies from Squid Game
 Mr. Sato broadens his home drinking horizons at Kaldi【Japan’s Best Home Senbero】
 How to make self-isolation tiramisu with simple ingredients【SoraKitchen】
 How to make a no-bake mille crepes-style cake with cheap combini chocolate wafers【SoraKitchen】
 Japanese restaurant chain shows us how to make katsudon in three minutes【SoraKitchen】
 Rice cooker recipe: 7-Eleven Japan’s Miso Mackerel Butter Rice is as tasty as it is easy
 How to turn McDonald’s chicken nuggets into tasty katsudon in five minutes【SoraKitchen】
 2021’s top stories in Japanese food and cooking news【SoraNews24 Year in Review】
 Mr. Sato takes a break in the new Shibuya KitKat Chocolatory, has a custom KitKat
 How to make yoghurt ramen with instant noodles