Every now and again, we stumble across a dessert recipe that’s so simple and tasty, it almost feels like we’ve discovered some sort of hidden secret that man wasn’t meant to know. Last year, we found out that instead of making pancakes one at a time, we could just make one huge one in a rice cooker, sprinkle in some green tea powder, and have a dessert that looks and tastes great with no fuss at all.
But what if you prefer chilled desserts to hotcakes? No problem. We recently tried a recipe for a frozen marshmallow dessert that may or may not technically be ice cream, but amazingly creates something that tastes even better from just two ingredients, and takes almost as few steps to make.
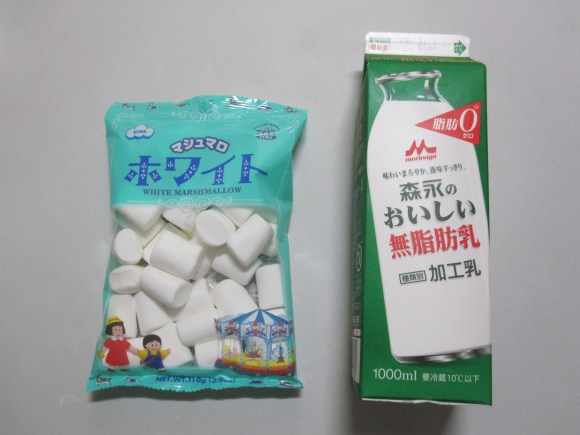
As always, before you start cooking, you’ll want to make sure you’ve got all the necessary equipment and supplies. To make this awesome dessert, you’ll need some marshmallows…
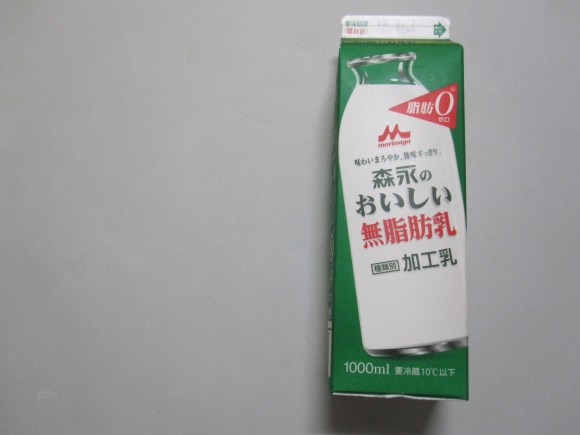
…milk…
…and…actually that’s it. That’s the entire ingredient list, right there:
You’ll also need a bowl, spoon, and measuring cup. If you have a whisk, that might come in kind of handy, but it’s not really required. And if you don’t have a bowl and spoon, as much as we appreciate your dedication to RocketNews24, you might want to prioritize obtaining such basic home furnishings over Internet access.
Now that we’ve got our ingredients assembled, let’s get started on the laughably simple cooking process. (Too hungry to read? Scroll down for our how-to video!)
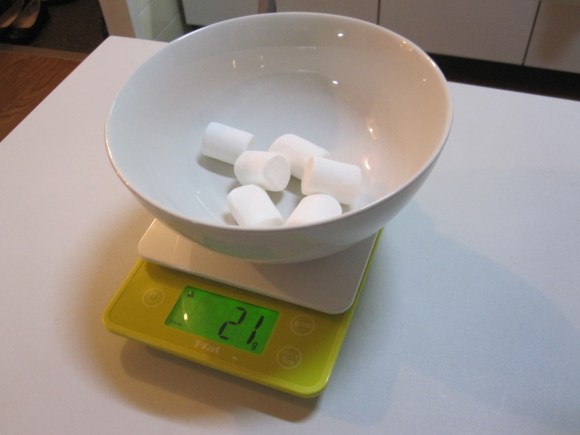
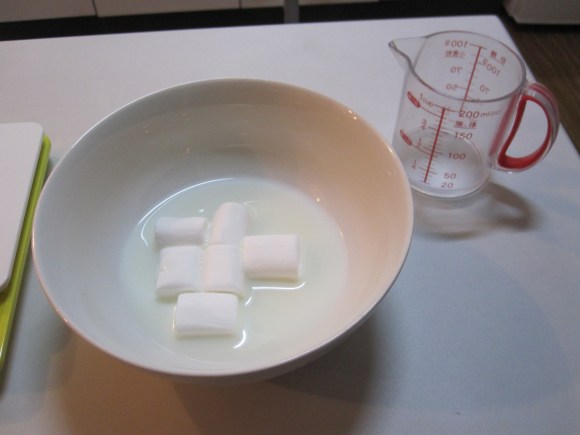
Step 1: Put 20 grams (0.7 ounces) of marshmallows into a bowl. This works out to about six average-sized ones.
▼ Yes, we realize the display says 21 grams, but thankfully marshmallow science isn’t as precise as rocket science.
Step 2: Pour in 70 milliliters (2.4 ounces) of milk. While many dessert recipes specify using whole milk, we used non-fat for ours, and trust us, the end result is still unbelievably creamy and flavorful.
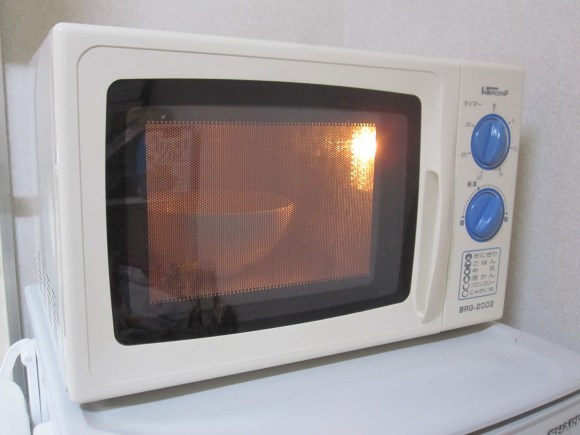
Step 3: Next, pop that bowl into the microwave for one minute. It’d probably be best to cover it with some plastic wrap first, unless you’re forgetful/living on the edge like we are.
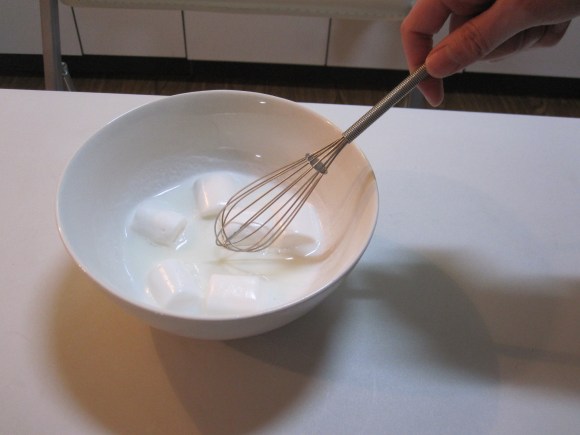
Step 4: Once time’s up, take the bowl back out and mix well with a whisk or spoon.
Warning! The heated contents of the bowl, and by extension your kitchen, will smell incredibly good at this point. Resist the temptation to eat everything now. Alternatively, give in to the temptation, then return to Step 1 and start again.
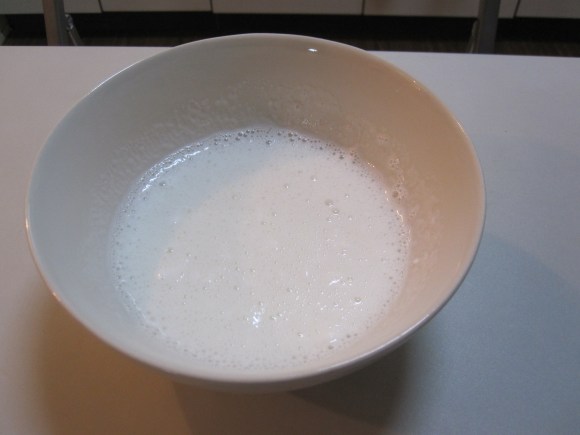
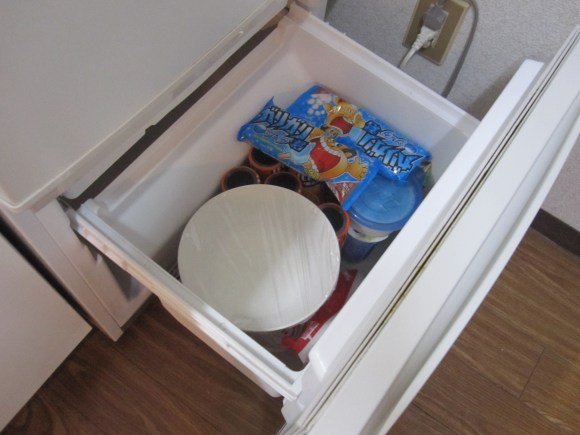
Step 5: Once everything is stirred to a uniform, frothy consistency, cover the bowl with plastic wrap and stick it in the freezer.
▼ You may need to rearrange the contents of the freezer, depending on the size of your war chest of Gari Gari-kun popsicles.
Now comes the hardest part of the process, as you’ll have to wait between 30 and 60 minutes, depending on how powerful your freezer is, for the mixture to achieve a half-frozen state. You could sit watching the clock, salivating as the lingering scent of melted marshmallows envelops you. Or, you could go out and buy some additional flavorings to add to your frozen treats, if you’re in the mood for something other than the standard marshmallow taste.
▼ We suppose you could also pick up a fifth of bourbon, if you’re feeling like you need to reestablish your tough-guy cred after getting halfway through making a home-made dessert.
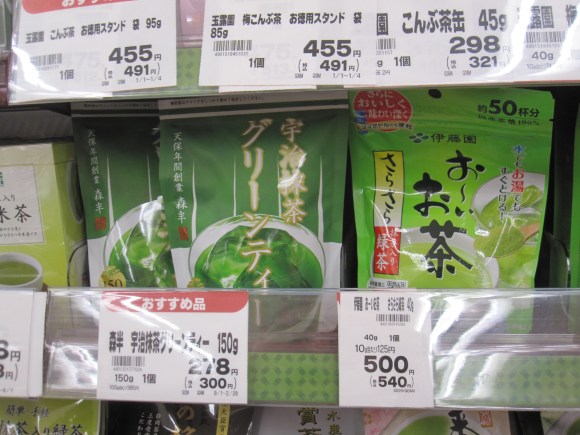
Given the vanilla-like flavor of regular marshmallows, just about anything makes for a good combination. You could mix in fruit jam or syrup, but we decided to go with a pack of matcha green tea powder.
▼ And not just because it was on sale for 300 yen (US$2.55)
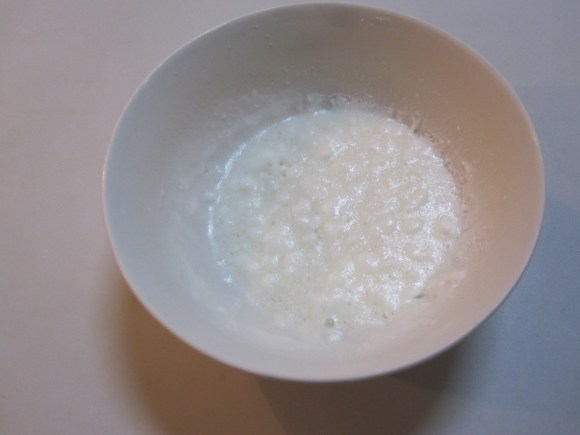
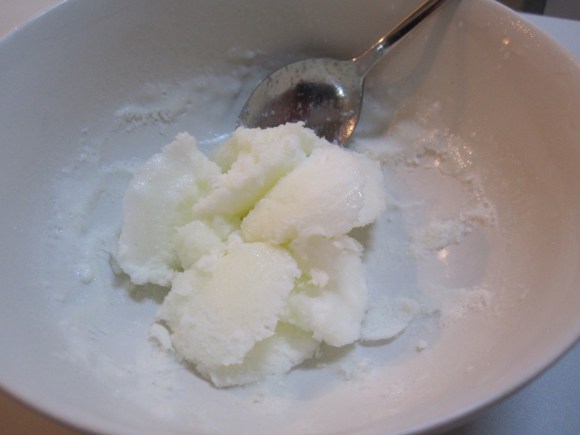
Step 6: Back at the RocketKitchen, we pulled our bowl out of the freezer and found that it had become nice and slushy.
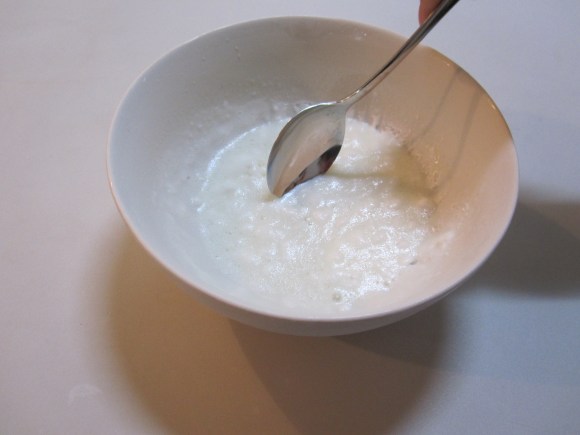
At this point, you’ll need to stir the contents one more time. We recommend using a spoon for this round, so as to keep any of the delicious dessert from getting caught inside the whisk where you won’t be able to eat it.
Step 7: Once you’ve got it looking like it does in the above photograph, you’ll need to cover the bowl with wrap again, and put it back in the freezer one more time for its final chill. Again, this should take between 30 and 60 minutes, depending on your freezer and the ambient temperature while you do your mixing. You’ll know the dessert is ready to eat when it has the same consistency as the ice cream the recipe is simulating/surpassing.
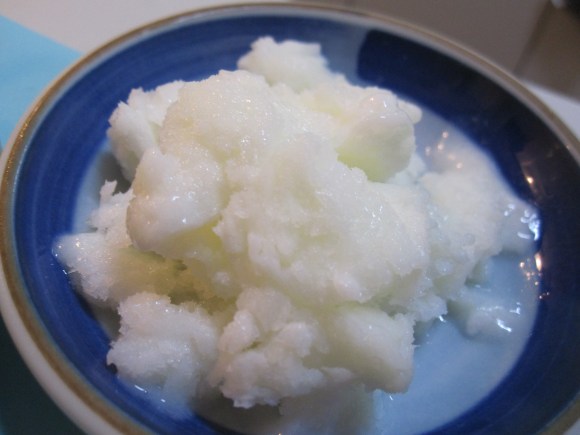
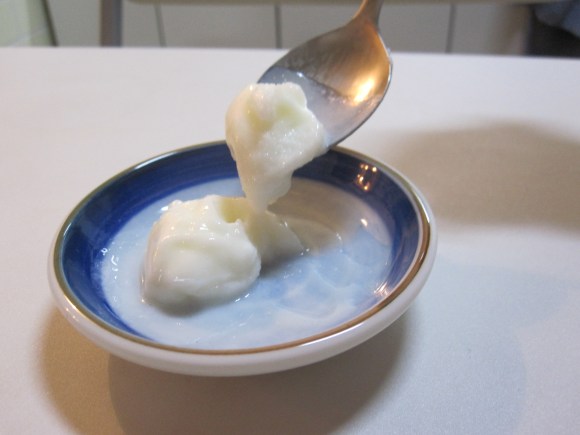
And here’s the finished product.
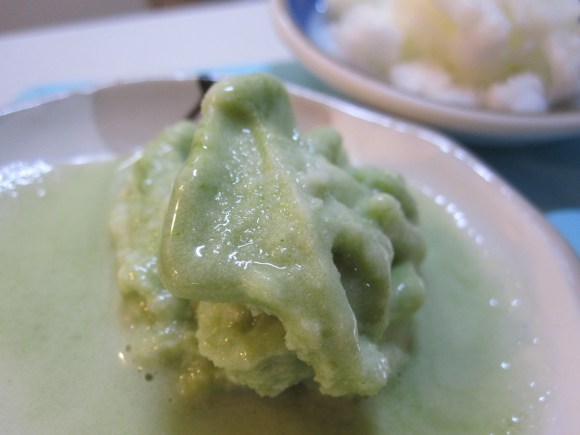
It’s incredibly rich and delicious, combining the flavor of the marshmallow topping from a sundae or frozen yogurt with a refreshing coolness, plus just a touch of the pleasing grit usually found in homemade ice cream thanks to the marshmallows’ sugar.
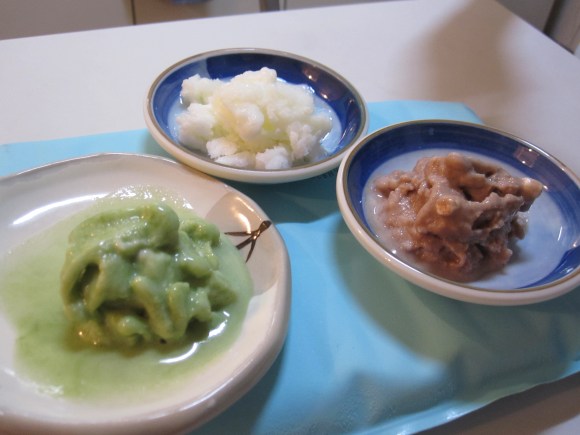
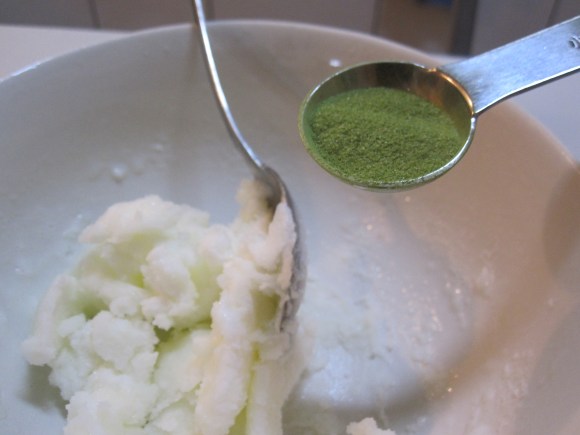
When you take the frozen marshmallow dessert out of the freezer for the final time, that’s also the time to stir in any additional flavors you want to spruce things up with. For a 20-gram batch, we added one and a half teaspoons of matcha powder, which left the initial taste sweet and creamy, but added a pleasant, palate-cleansing tea kick to the aftertaste, plus a little visual appeal.
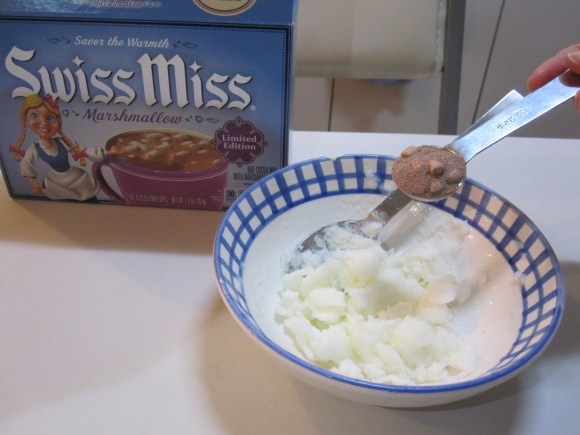
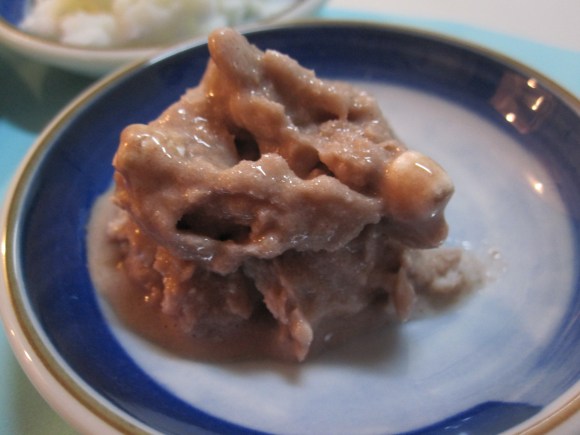
Actually, all this thinking about marshmallows had us craving some cocoa. Rather than brew ourselves a cup, though, we decided to grab a pack of hot chocolate mix and stir it into yet another 20-gram batch, once again adding one and a half teaspoons of powder.
▼ At this point we noticed that our cocoa mix also contained marshmallows, meaning that we were officially all-in on the oblong white confectionaries.
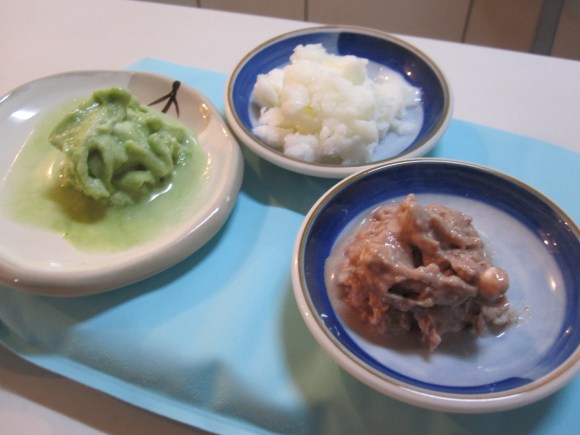
▼ Our tri-color spread, featuring original flavor, Japanese tea, and Swiss Miss.
Because we love you, here’s a step-by-step video guide. Add it to your YouTube favorites and for the next time you find yourself in need of a bowl of deliciousness!
Frozen marshmallow cream -easy to make, customizable, and so delicious it’ll make you rethink eating store-bought ice cream. What’s not to like? Well, except that since it tastes so good, a 20-gram serving will be gone in a flash.
The solution is simple, though, since making larger batches is just a matter of multiplying the 20 grams of marshmallows to 70 milliliters of milk ratio to whatever quantity you want. As a matter of fact, once your friends and family get a taste, you’ll probably have to go with batches several times bigger than the ones we did here in order to meet demand.
But hey, when the recipe is such a snap, there’s no reason not to make enough to share.
Sources: Cookpad, Hachima Kikou, Livedoor
Photos, video © RocketNews24



 Celebrate Halloween with our recipe for jack-o’-lantern nikuman steamed buns【RocketKitchen】
 How to make your own Pikachu Burgers!【RocketKitchen】
 How to make a mouth-watering Japanese beef bowl in just five minutes 【RocketKitchen】
 How to make amazing sweet apple pancakes using a rice cooker 【RocketKitchen】
 We try a method for making ice cream that doesn’t require a freezer【SoraKitchen】
 Japanese movie theater chain’s popcorn earns highest Grand Prix quality certification
 420 million yen in cash-filled suitcases stolen on Tokyo streets, incidents at Haneda and Hong Kong follow
 Japan has been tossing message-bearing coconuts into the ocean since the 1980s
 Yokai are descending upon Tokyo this spring in the latest immersive art experience
 Japanese man gets drunk and falls asleep on Tokyo streets, then gets robbed by foreign national
 Studio Ghibli releases new “komorebi” plush toys from Princess Mononoke and Spirited Away
 Which Japanese beef bowl chain’s near-identical demon grater onioroshi ponzu gyudon is the best?
 Japan has a new bar just for people thinking about quitting their jobs, and the drinks are free
 Genuine Muramasa blade and Muromachi katana on display at Tokyo’s Touken Ranbu store【Photos】
 Umamusume anime cosplayers make news in U.S. for their pro football fandom【Video】
 Archfiend Hello Kitty appears as Sanrio launches new team-up with Yu-Gi-Oh【Pics】
 China’s don’t-go-to-Japan warning looks to be affecting tourist crowds on Miyajima
 Japan’s Naruto theme park now offering real-world version of Minato’s kunai ninja weapon
 East Japan’s 10 most magical winter scenery experiences, as chosen by travelers
 Japanese young women reveal their top dealbreakers in a man【Survey】
 Studio Ghibli adds new Kiki’s Delivery Service notebook and ceramic cake case to stores in Japan
 If you haven’t tried an antenna shop in Japan, you’re missing out
 Studio Ghibli releases Spirited Away bags in Japan, based on a mysterious festival
 Starbucks Japan releases new drinkware and goods for Valentine’s Day
 Japan releases first official sakura cherry blossom forecast for 2026
 10 times to avoid traveling in Japan in 2026
 Starbucks Japan releases new Frappuccino and latte for Valentine’s Day
 Our 52-year-old pole dancing reporter shares his tips for achieving your New Year’s exercise goal
 Ramen restaurant’s English menu prices are nearly double its Japanese ones, denies discriminating
 Survey asks foreign tourists what bothered them in Japan, more than half gave same answer
 Japan’s human washing machines will go on sale to general public, demos to be held in Tokyo
 We deeply regret going into this tunnel on our walk in the mountains of Japan
 Studio Ghibli releases Kodama forest spirits from Princess Mononoke to light up your home
 Major Japanese hotel chain says reservations via overseas booking sites may not be valid
 Put sesame oil in your coffee? Japanese maker says it’s the best way to start your day【Taste test】
 No more using real katana for tourism activities, Japan’s National Police Agency says
 Starbucks Japan reveals new sakura drinkware collection, inspired by evening cherry blossoms
 Updated cherry blossom forecast shows extra-long sakura season for Japan this year
 We made world-famous French toast in our office, and so can you! 【RocketKitchen】
 We make French toast from castella cake, and it’s absolutely yums!【RocketKitchen】
 We try making demi-glace sauce with catsup and chocolate【RocketKitchen】
 We turn Japanese bamboo shoot rice dish into a delectable dessert【RocketKitchen】
 Japanese marshmallow omelette: A real thing you can (and should) make right away 【Rocket Kitchen】
 Learn to love the taste of raw daikon with this simple recipe 【RocketKitchen】
 Monjayaki, the popular Tokyo dish you’ve probably never heard of 【RocketKitchen】
 Eat your beans the doubly delicious way with this mushiyaki edamame recipe 【RocketKitchen】
 RocketKitchen: A simple and delicious recipe for cooking tuna
 How to cook miso soup (the right way) in a few simple steps【RocketKitchen】
 We follow Twitter recipe to cook “coffee rice”! 【RocketKitchen】
 We substitute mirin for sugar in pudding and then taste it ourselves 【Rocket Kitchen】
 How to make self-isolation tiramisu with simple ingredients【SoraKitchen】
 We test out a new way to make fried chicken, the Prison School way 【RocketKitchen】
 Who knew frozen apples could taste so good!: Simple dessert recipe for the diet-conscious
Leave a Reply