
Sometimes, people are subconsciously bound by their cultural habits and traditions, and fail to see beyond the appearance of things. To the Japanese, a bamboo makisu (sushi mat) is used to make sushi, but in the hands of someone outside of Japan, the traditional culinary item is transformed into something completely unrelated to food. If you’re looking to add some Japanese element into your daily life, read on for the simple DIY instructions to make your own sushi mat brush organizer!
Our Japanese correspondent Yoshio couldn’t help but exclaim “これはスゴイ!” (This is great!) when he saw this awesome DIY project that transformed a common sushi mat into a makeup brush organizer. What’s even more awesome is the fact that you’ll need only about three to four items to create your very own sushi mat brush organizer!
Items you’ll need:
– Sushi mat(s)
– Elastic band (Optional)
– Ribbon
– Sewing kit/Hot glue gun
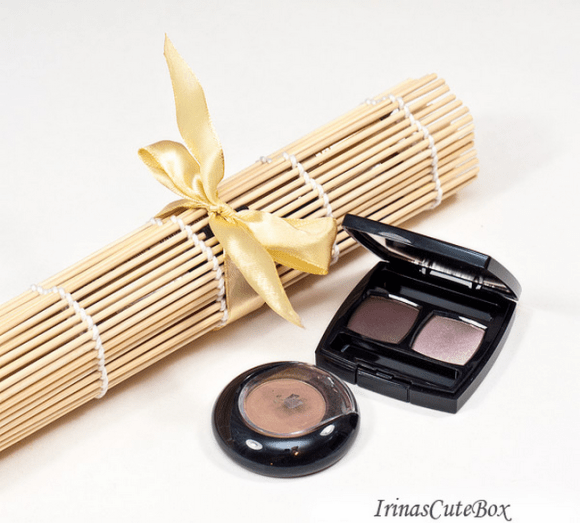
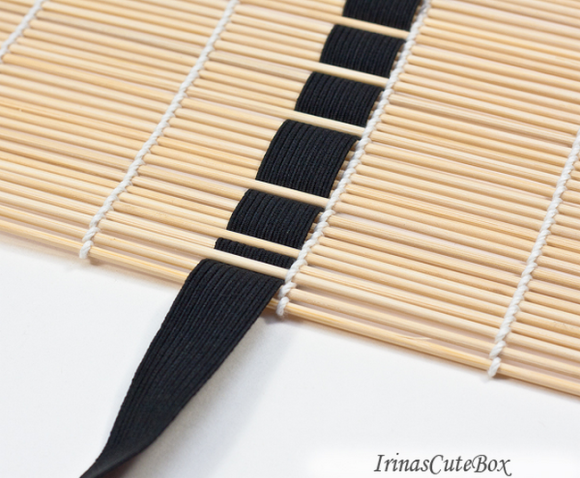
Sushi mat brush organizer with elastic band by Irina’s Cute Box
Step 1: Wrap the elastic band around the first 2-3 sticks at one end of the mat.
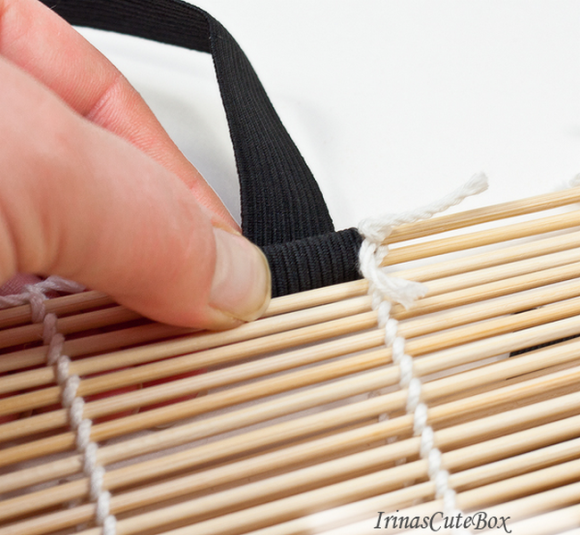
Step 2: Sew the end of the elastic band to the longer side to secure it in place.
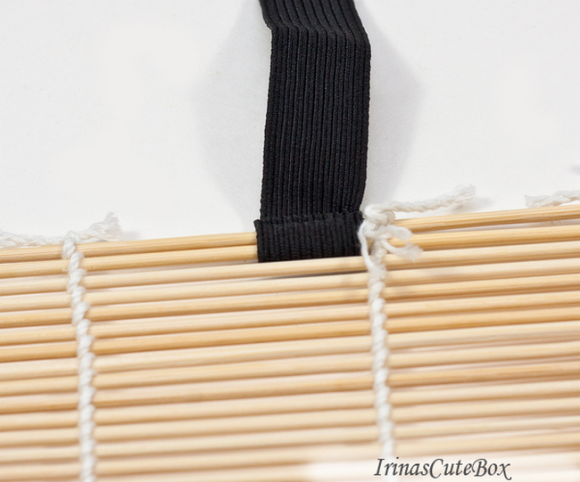
Step 3: Weave the elastic band around the sticks in intervals that fit your brushes.
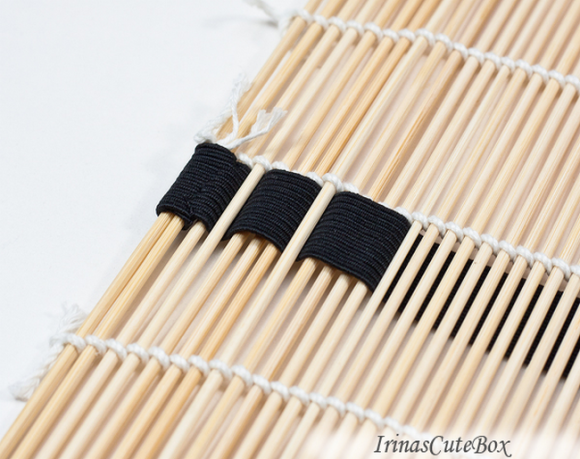
Step 4: When you’ve reached the other end of the sushi mat, leave an appropriate length of elastic band and cut it. Wrap the elastic band around the last few sticks and secure it in place as in Step 2.
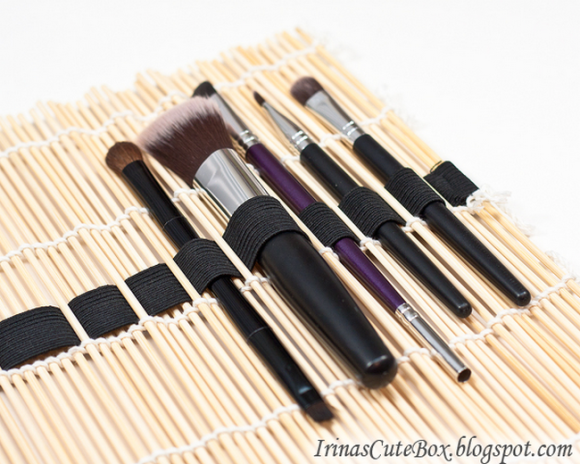
And you’re done! Load it up with your favorite makeup brushes, roll it up and tie it up with a piece of ribbon or simply hold everything together with an elastic hair tie.
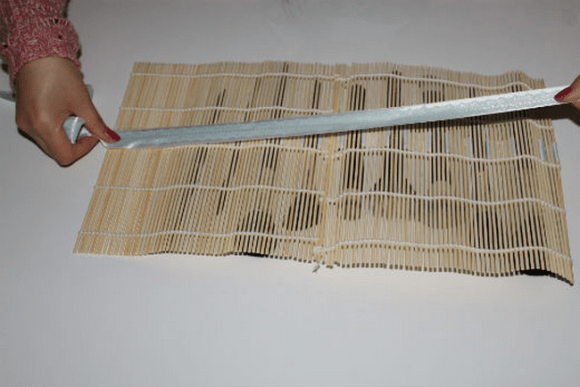
If you have many brushes to carry around and don’t have elastic band at home, or if sewing isn’t your thing, here’s another version that uses two sushi mats, ribbon and a hot glue gun.
Double sushi mat brush roll with ribbon by Lethelle
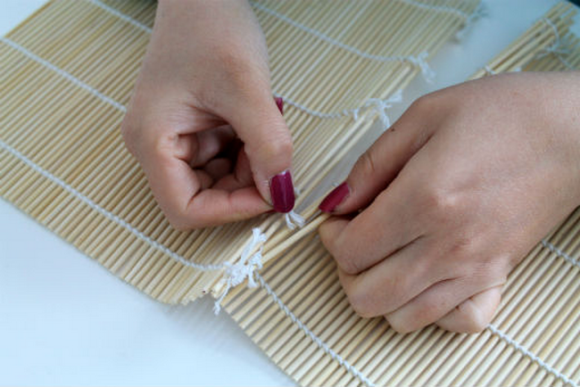
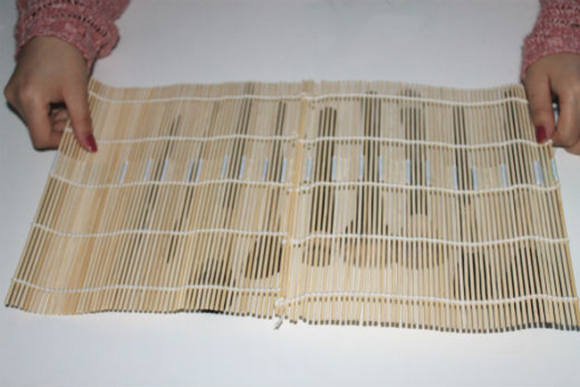
Step 1: Combine the two sushi mats into one by untying the knots on one end of a sushi mat and then tying it to the other. Trim away any untidy string ends if necessary.
Step 2: Slide the ribbon around the first stick at one end of the mat. Apply glue to the ribbon and secure it in place.
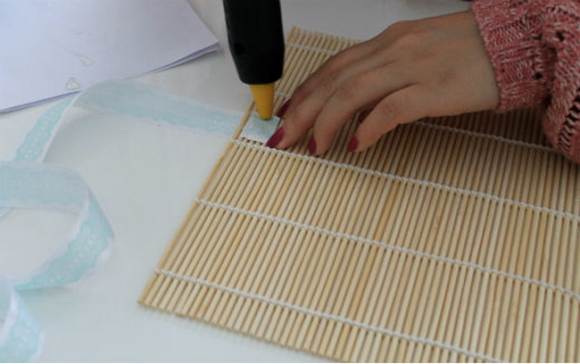
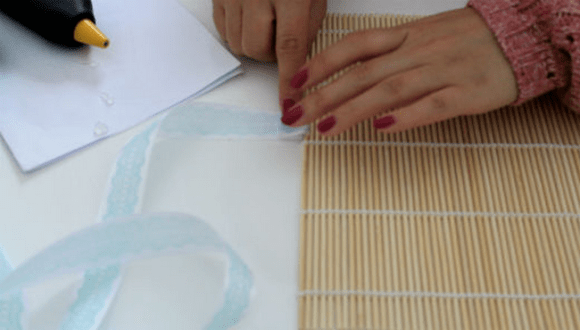
Step 3: Weave the ribbon around the sticks in intervals that fit your brushes. It is best to wrap the ribbon around the brushes to get the perfect fit as ribbons do not stretch as much as elastic bands.
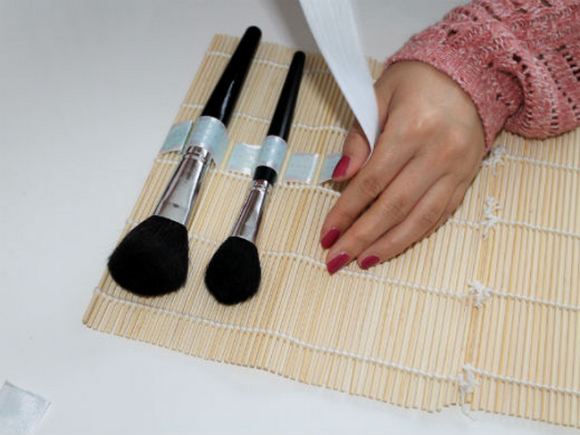
Step 4: When you’ve reached the other end of the sushi mat, leave an appropriate length of ribbon and cut it. Wrap the remaining ribbon around the last stick and secure it in place as in Step 2.
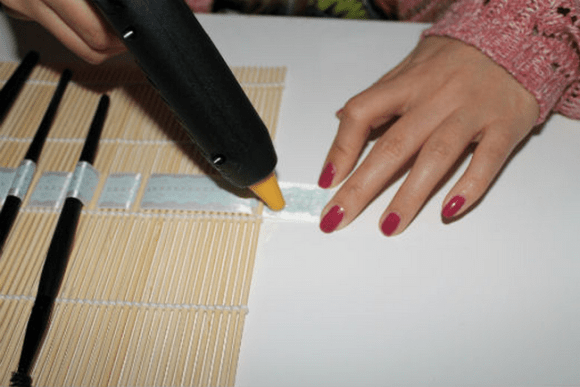
Step 5: Flip the sushi mat to the other side. Prepare another piece of ribbon that is longer than the sushi mat. Attach it to the back of the sushi mat with hot glue.
▼ Roll it in, tie it up and you’re ready to go!

How’s that for a functional, quick DIY project? It’s affordable, customizable to fit different makeup tools (works great for manicure tools too!), and adds a subtle touch of Japanese beauty to your daily makeup sessions. The sushi mat is also rather sturdy so it’ll probably keep your brushes in better condition as compared to dumping all your brushes into one big soft makeup pouch.
Guys, don’t be disappointed if you don’t use makeup brushes, you can always customize the size and placement of the gaps to fit things such as stationery, or even tools such as screwdrivers! Don’t like ribbon? Replace them with string, or even leather for a more sophisticated look. Get creative!
Source: Zhaizhai News
Reference/Images: Irina’s Cute Box, Lethelle.com
 Three new starter Pokémon Jets to fly in Japan, first begins carrying passengers this month
 Family Mart opens new “Famima” flagship store in Tokyo that’s like a tourist attraction
 Studio Ghibli has a new anime out, and there’s only one place in the world where you can see it
 Uniqlo looks back to the very start of Pokémon with new black-and-white pixel art T-shirts[Pics]
 Japan reacts to Donald Trump’s “Islamic Republic of Japan” remark
 Solid gold Hedorah kaiju from the Godzilla series is now available to pre-order
 Furby is now a sexy anime girl figure[Photos]
 Survey shows foreigners’ desire to work in Japan long-term dropping, but that’s not the whole story
 Studio Ghibli theme park’s new dessert is a drinkable version of Hayao Miyazaki’s pilot daydream
 3-second salt company jingle becomes #1 karaoke song in Japan across all genres
 Salomon releases Japan-exclusive Mt. Fuji hiking gear that doubles as an amazing souvenir
 A visit to Sri Lanka’s knockoff knockoff Uniqlo (no, we didn’t stutter) to see its rare “Pikachus”
 Japanese airport rebrands itself as “Sushi Airport” to attract foreign tourists
 Japan triples departure tax, foreign tourists and locals now must pay more to leave country
 New Mt. Fuji overnight bus takes travelers from downtown Tokyo straight to the most popular hiking trail
 Don’t judge this Kiki’s Delivery Service book by its cover, because it’s not actually a book!
 Japan announces sudden 400-percent increase in visa fees for foreigners entering the country
 Japanese ninja certification exam attracts 131 candidates from Japan and abroad
 Studio Ghibli store Donguri Republic announces opening of first-ever store in America
 New Japanese overnight train coming to connect Tokyo with Tohoku in sleep-travel style
 Japanese sweets shop sells an ohagi so exquisite it sells out by noon
 Sanrio Character Poll announces winners, Hello Kitty absent from top 10 in many countries
 Japan’s human washing machines will go on sale to general public, demos to be held in Tokyo
 Starbucks Japan releases new drinkware and goods for Valentine’s Day
 Starbucks Japan releases new sakura goods and drinkware for cherry blossom season 2026
 Japan’s newest Shinkansen has no seats…or passengers [Video]
 Put sesame oil in your coffee? Japanese maker says it’s the best way to start your day【Taste test】
 Japan reportedly adding Japanese language skill requirement to most common foreigner work visa
 Solid gold Hedorah kaiju from the Godzilla series is now available to pre-order
 Furby is now a sexy anime girl figure[Photos]
 Survey shows foreigners’ desire to work in Japan long-term dropping, but that’s not the whole story
 Studio Ghibli theme park’s new dessert is a drinkable version of Hayao Miyazaki’s pilot daydream
 3-second salt company jingle becomes #1 karaoke song in Japan across all genres
 Family Mart changes its Famichiki packaging for the first time in nine years
 Piko Taro is back to rock your world with bizarre new Super Cup ice cream video
 McDonald’s Japan reveals new Pokémon collaboration range, covering McNuggets and lucky bags
 Suntanned Hello Kitty steals the show in Japanese magazine’s Sanrio freebies
 Climbing season officially opens for Japan’s Mt. Hiyoriyama, the shortest mountain in the country
 Japanese airport rebrands itself as “Sushi Airport” to attract foreign tourists
 Giant Mewtwo statue disappears from real-life Pokémon Center in Japan, may be headed to America
 Foreign tourists staying in one part of Japan can now get nightly government hotel discounts
 Hollywood live-action Naruto movie announces global search for its Naruto, Sasuke, and Sakura