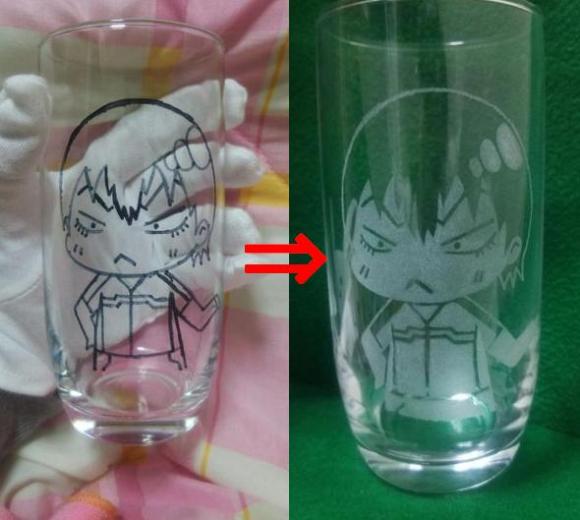
Having a hard time coming up with a cool gift idea? Wanting to create something fun and uniquely yours? Why not try your hand at glass-etching! It might sound a bit daunting, but as some Twitter users in Japan are finding, it’s a lot easier than expected, and a lot of fun to make your own anime (or anything!) goods. All you need are a few basic items, a steady hand, and some helpful tips to make your own awesome, customized etched glass! Follow us after the jump to get started.
All right, let’s get to it! First here’s what you’ll need:
-A glass cup
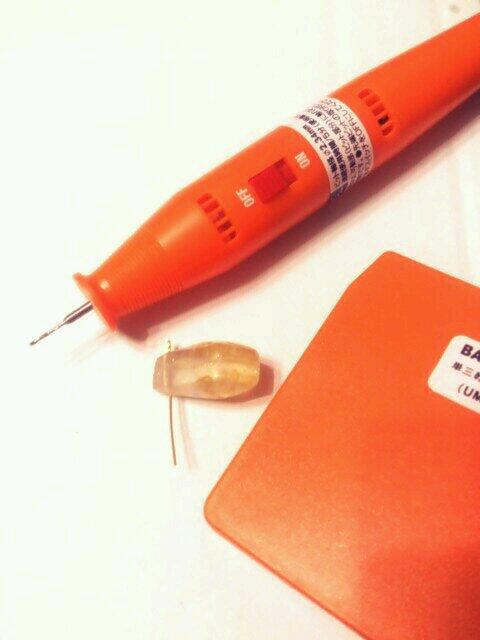
-Mini rotary tool with diamond-tipped bit
-Mask, goggles, and gloves
-Your creativity!
Since you’ll be etching glass, you’ll be creating glass dust and possibly glass splinters in the process, so as a precaution it’s a wise idea to use a mask, goggles, and gloves for protection while creating your handiwork. Glass splinters are NO FUN.
Now, for the image. If you’re a bit more artistically inclined, you can simply free-hand your preliminary sketch right onto the cup with marker. You can also print an image and tape it on the inside of your cup to trace over. Then goggles on, and start etching away with the rotary tool! (For those of you in Japan, Daiso sells very inexpensive mini rotary tools and replacement bits, called mini ruutaa, ミニルーター, in Japanese).
▼A simple mini rotary tool
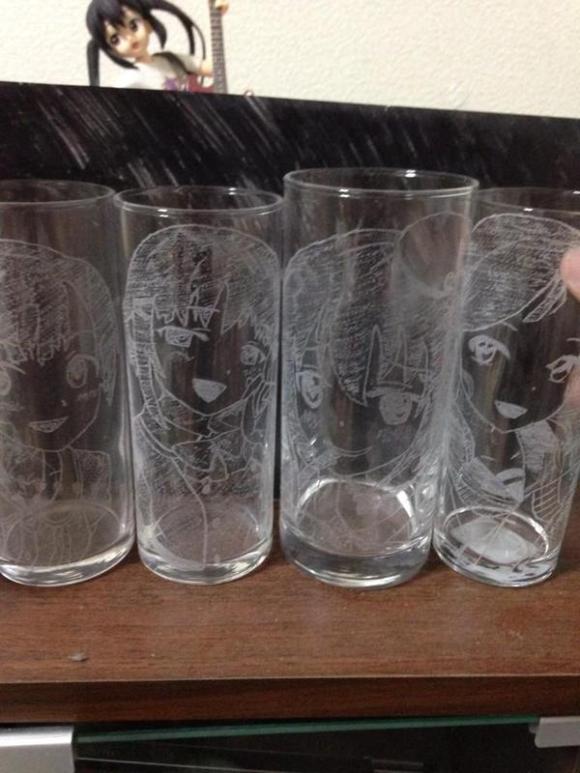
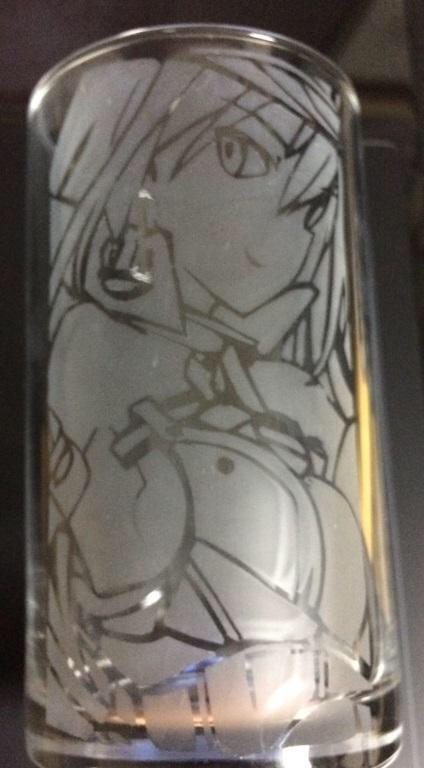
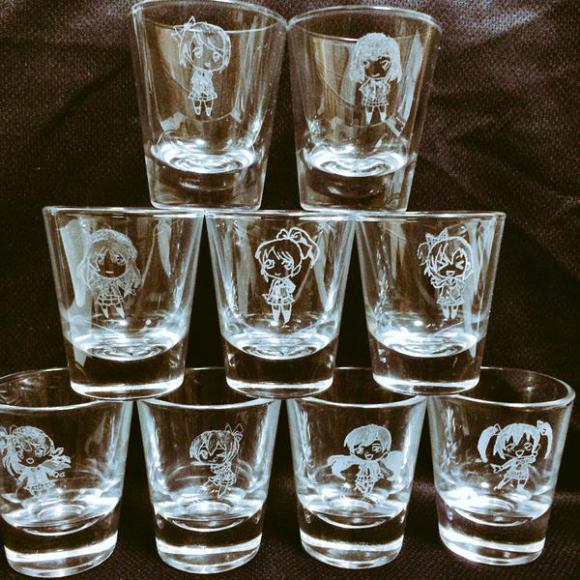
If you need some inspiration, check out these awesome anime designs done by creative Twitterers.
Some seasoned glass-etchers also share their tips to help things go more smoothly and get a better end-result:
“Hold the rotary tool as you would a pencil. Hold the bit lightly against the glass, and only apply pressure from the bit.”
“It will etch more smoothly if you move the rotary tool from right to left, instead of left to right. You can help stabilize the cup by placing something to the right of the cup so it doesn’t roll.” (This will probably be the opposite for you lefties!)
“Before making your preliminary sketch, wipe the glass with a cloth soaked with nail polish remover, then draw the design with magic marker. When you’re finished etching, wipe any remaining marker away with the nail polish remover.”
“Let the etched parts represent areas of light, and unetched parts represent areas of shadow on your picture. When etching, using a light will help you see the shading better.”
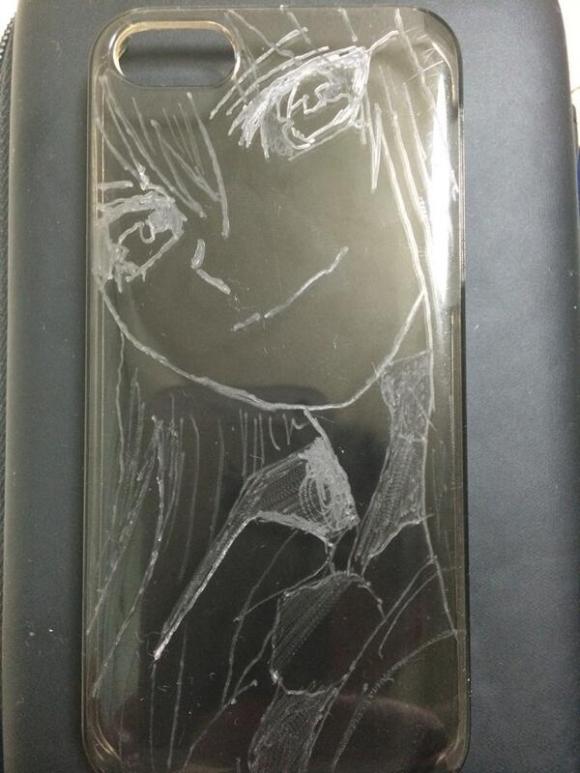
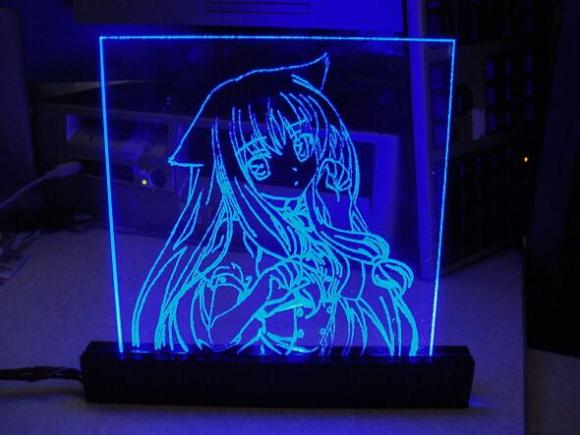
With the rotary tool, you’re not limited to only class cups. Here are a couple other cool ideas for etching projects.
▼Customized smartphone case!
Going to give glass etching a whirl? Let us know what you’re making and how it turns out!
Source: NAVER Matome
Featured image: Twitter @hr_joker_


 Exquisitely blown Japanese beer glasses create serene landscapes while you drink
 Tiny gachapon hamsters are here to cling to your glass and make your drink extra cute!
 What happens when you freeze your boss’s glasses in a block of ice?
 Glasses from Japan turn drinks into Hello Kitty, will convince you that you need snacks too【Pics】
 We learn how to make tofu with this at-home make-your-own tofu kit【SoraKitchen】
 Three beautiful places to see Japan’s plum blossoms after starting your day in downtown Tokyo
 Tokyo Station staff share their top 10 favorite ekiben
 Ghost in the Sheel goes traditional with Japanese porcelain Tachikoma robots, only 50 to be made
 Is China’s don’t-go-to-Japan warning affecting the lines at a popular Tokyo gyukatsu restaurant?
 Naruto jerseys coming to Major Leage Baseball theme nights, Hello Kitty to take over a field
 And now, we eat a bear paw we bought in Japan’s Chiba Prefecture【Taste test】
 Feast creates bras for petite “Cinderella busts,” draws attention for upcoming My Melody lingerie
 Pokémon Lego kits are finally on their way!【Photos】
 Japan has abolished advance deportation notifications to foreigners’ lawyers
 Japan’s most famous Mt. Fuji view park cancels cherry blossom festival because of overtourism
 Yokai are descending upon Tokyo this spring in the latest immersive art experience
 New Studio Ghibli stamps leave an impression on your stationery…and your heart
 Cherry blossom forecasts map shows Japan’s OTHER sakura season is starting right now
 Japanese women sound off on their minimum height requirements for a husband【Survey】
 Japanese man gets drunk and falls asleep on Tokyo streets, then gets robbed by foreign national
 Japan has a new bar just for people thinking about quitting their jobs, and the drinks are free
 420 million yen in cash-filled suitcases stolen on Tokyo streets, incidents at Haneda and Hong Kong follow
 Japan’s suicides fall to lowest recorded number ever, but one demographic hits all-time high
 Starbucks Japan releases new drinkware and goods for Valentine’s Day
 Japan releases first official sakura cherry blossom forecast for 2026
 10 times to avoid traveling in Japan in 2026
 Archfiend Hello Kitty appears as Sanrio launches new team-up with Yu-Gi-Oh【Pics】
 Starbucks Japan releases new Frappuccino and latte for Valentine’s Day
 China’s don’t-go-to-Japan warning looks to be affecting tourist crowds on Miyajima
 Our 52-year-old pole dancing reporter shares his tips for achieving your New Year’s exercise goal
 Studio Ghibli releases new “komorebi” plush toys from Princess Mononoke and Spirited Away
 Ramen restaurant’s English menu prices are nearly double its Japanese ones, denies discriminating
 Survey asks foreign tourists what bothered them in Japan, more than half gave same answer
 Japan’s human washing machines will go on sale to general public, demos to be held in Tokyo
 We deeply regret going into this tunnel on our walk in the mountains of Japan
 Studio Ghibli releases Kodama forest spirits from Princess Mononoke to light up your home
 Major Japanese hotel chain says reservations via overseas booking sites may not be valid
 Put sesame oil in your coffee? Japanese maker says it’s the best way to start your day【Taste test】
 No more using real katana for tourism activities, Japan’s National Police Agency says
 Starbucks Japan reveals new sakura drinkware collection, inspired by evening cherry blossoms
 Updated cherry blossom forecast shows extra-long sakura season for Japan this year
 How you can make a monitor that only you can see with your own special polarized glasses
 Cat mugs from Japan transform into adorable kitties when you fill them with liquid【Photos】
 We attempt to achieve a Zen mindset by making candy rock gardens
 Japanese art site Pixiv now lets you make your own 3-D model for free, and in English!
Leave a Reply